Welcome to our step-by-step guide on how to build a deck with a roof in Australia! Whether you’re a DIY enthusiast looking to enhance your outdoor space or a homeowner seeking more protection from the elements, adding a roof to your deck is a great way to create a versatile, year-round entertaining area. In this guide, we’ll walk you through everything you need to know from planning and design to choosing the right materials and getting council approval so you can confidently build a sturdy, stylish deck with a roof that complements your home and lifestyle.
To build a deck with a roof in Australia, start by assessing your space and checking local council regulations for necessary approvals. Choose durable materials like treated pine or hardwood for the deck and Color bond or polycarbonate for the roof. Construct the deck by setting footings, installing the frame, and laying decking boards. Then, build the roof structure by securing beams and rafters before attaching the roofing panels. Finish with sealing, staining, and adding gutters for proper drainage. Regular maintenance will keep your deck looking great and ensure it withstands Australia’s climate.
- Planning And Designing Your Deck And Roof
- Materials And Tools You’ll Need For Building A Deck With A Roof In Australia
- Step-By-Step Guide To Building Your Deck: A Complete DIY Guide
- Finishing Touches For Your Deck: Ensuring Longevity And Beauty
- Maintenance Tips For Your Patio Roof And Deck
- FAQs: About How To Build A Deck With Roof Australia
- Conclusion
Planning And Designing Your Deck And Roof
When planning to build a deck with a roof in your outdoor space, getting the planning and design right is crucial for a successful project. This section will walk you through the essential steps, from choosing the perfect location to navigating Australian building regulations and picking suitable materials. Let’s dive into everything you need to consider for a well-planned and beautifully designed deck.
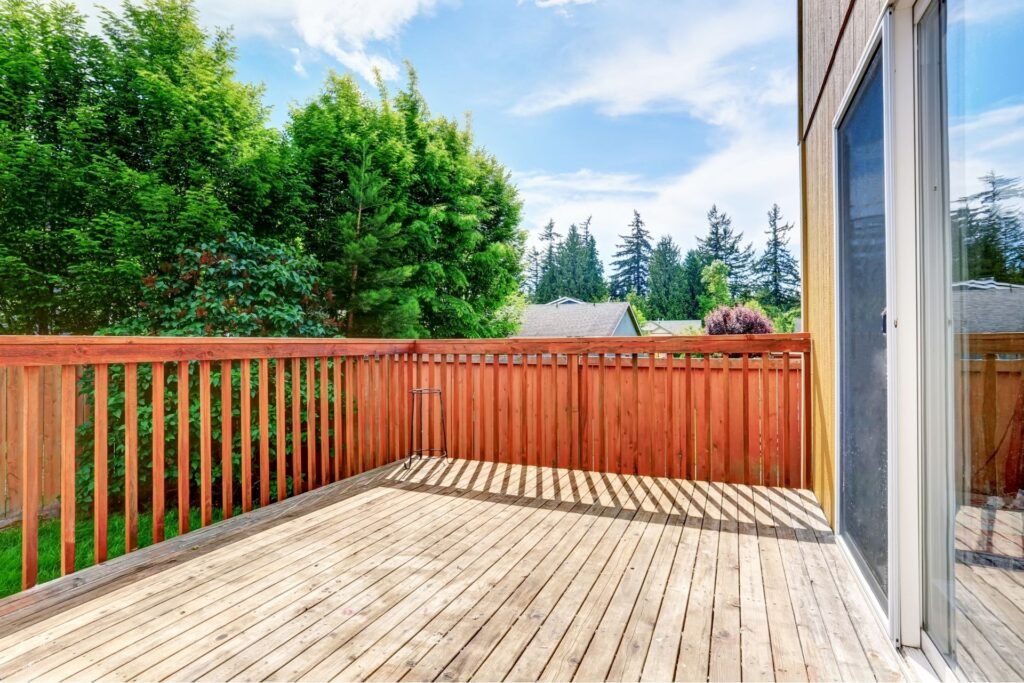
Assessing Your Space
The first step in planning your deck is to carefully evaluate the area where you intend to build it. Choosing the right location is more than just finding an empty space; you’ll need to take into account several important factors.
- Proximity to Your Home: Ideally, your deck should be easily accessible from your home, either as an extension of an existing living area or positioned to create a seamless indoor-outdoor flow. This helps to make the most of your deck as a functional living space.
- Sunlight Exposure: Think about how much sunlight the area gets throughout the day. If the space is overly exposed to the sun, you might want to plan for some shading options, either through a roof, pergola, or strategically planted trees. Conversely, if your space is often in the shade, you can enjoy year-round outdoor living, but it may also influence your choice of roofing materials.
- Obstacles and Surroundings: Are there any natural elements like trees, shrubs, or fences that could impact the design of your deck? Consider how these features might be worked into the design or removed, depending on your preference. Keep in mind, however, that removing trees may require council approval in some Australian states.
By thoughtfully assessing these elements, you’ll be better prepared to choose the best location for your deck that enhances your outdoor lifestyle while complementing your home.
Understanding Australian Building Regulations
Before you pick up any tools, it’s essential to familiarize yourself with local building regulations in Australia. These rules are in place to ensure the safety and durability of your deck, especially if you plan to include a roof.
- Council Approval: In most Australian regions, you will need approval from your local council before constructing a deck with a roof, particularly if it’s attached to your home. This approval process can vary between states and territories, so be sure to research your specific area’s requirements. Generally, roofed decks are considered an extension of the home and are subject to stricter regulations compared to open decks.
- State-Specific Rules: Some states, like Queensland and New South Wales, may have additional building codes regarding the height of the deck, proximity to boundaries, and structural integrity. It’s also common for councils to require plans and engineering drawings, especially for more complex builds. Hiring a professional to assist with this part of the process can save time and prevent costly mistakes.
In any case, checking with your local council or a professional builder is highly recommended to avoid issues down the road. This ensures that your deck is not only beautiful but also compliant with local laws.
Choosing the Right Roof Type for Australian Conditions
The next step in planning your deck is selecting a roof type that suits both your aesthetic preferences and the Australian climate. Australia’s weather can be quite harsh, so your roof material needs to be durable and able to withstand extreme conditions, including high winds, heavy rain, and intense sun.
Roofing Materials
- Colorbond Steel: Colorbond Steel: One of Australia’s most popular roofing materials, Colorbond steel is ideal for the country’s hot, dry, and often harsh climate. It’s designed to reflect heat, which helps keep the area under the roof cooler during summer. Colorbond is also corrosion-resistant, making it suitable for coastal areas where salt exposure can be an issue. The material is lightweight, durable, and available in a wide range of colors to complement your home’s exterior. To explore more about roofing solutions, you can visit Stratco’s Roofing Range.
- Polycarbonate: For those wanting more natural light on their deck, polycarbonate sheets are a fantastic option. These materials are lightweight, UV-resistant, and allow sunlight to filter through while providing protection from the elements.
- Timber: If you’re after a more natural or rustic aesthetic, timber can be used for roofing as well. While it may require more maintenance than other materials, timber roofs can add a warm and inviting feel to your outdoor space.
Roof Styles
- Flat Roof: A flat roof is simple, modern, and works well for smaller spaces or homes with minimalist architecture. However, it may not be the best option in areas with heavy rainfall.
- Gabled Roof: Gabled roofs offer excellent water drainage and create a more spacious feel with their pitched design. This style is great for homes that want a classic or traditional look.
- Skillion Roof: A skillion roof features a single sloping surface, providing a sleek, modern appearance. It’s also perfect for areas with heavy rain, as the slope naturally directs water away.
Choosing the right roof type depends on your style preferences and functional needs, as well as how the roof will interact with the existing structure of your home.
Budgeting and Tools
Budgeting is an important part of any home improvement project, especially when it involves both decking and roofing. Your budget will dictate the materials you choose and whether you opt for a DIY approach or hire a professional.
- Materials: Depending on the size of your deck and the type of roof you choose, materials can range significantly in cost. For example.
- Timber decking: $200 to $1,000 per square metre, depending on the wood species.
- Roofing materials like Colorbond or polycarbonate: $50 to $150 per square metre.
- Additional materials, such as posts, beams, and fasteners, should also be factored in.
- Tools: If you’re taking the DIY route, you’ll need to invest in or hire tools such as power drills, saws, hammers, and measuring tools. These could add a few hundred dollars to your overall budget.
- Professional Help: Hiring a builder can streamline the process, particularly when it comes to navigating building regulations and ensuring structural safety. Professional fees may range from $2,000 to $5,000 depending on the complexity of the project, but this investment can help avoid costly mistakes and ensure a long-lasting, high-quality build.
Creating a detailed budget early on will help you manage your costs and decide whether professional assistance is necessary.
Planning and designing a deck with a roof requires thoughtful consideration of your space, local regulations, and materials that suit Australia’s climate. By assessing your outdoor area, understanding the necessary approvals, selecting the right roof type, and budgeting wisely, you can create a stunning, functional outdoor living space that enhances your home’s value and your quality of life.
Taking the time to plan thoroughly will pay off in the long run, ensuring that your new deck is not only a beautiful addition but also a compliant and durable structure tailored to your needs.

Materials And Tools You’ll Need For Building A Deck With A Roof In Australia
When planning to build a deck with a roof in Australia, selecting the right materials and tools is crucial for ensuring a long-lasting, durable structure that can withstand the country’s diverse climate conditions. Whether you’re looking to enhance your outdoor space for entertainment or relaxation, understanding the best materials for decking and roofing, as well as the tools required, will make your project much smoother. Here’s a detailed breakdown of what you’ll need:
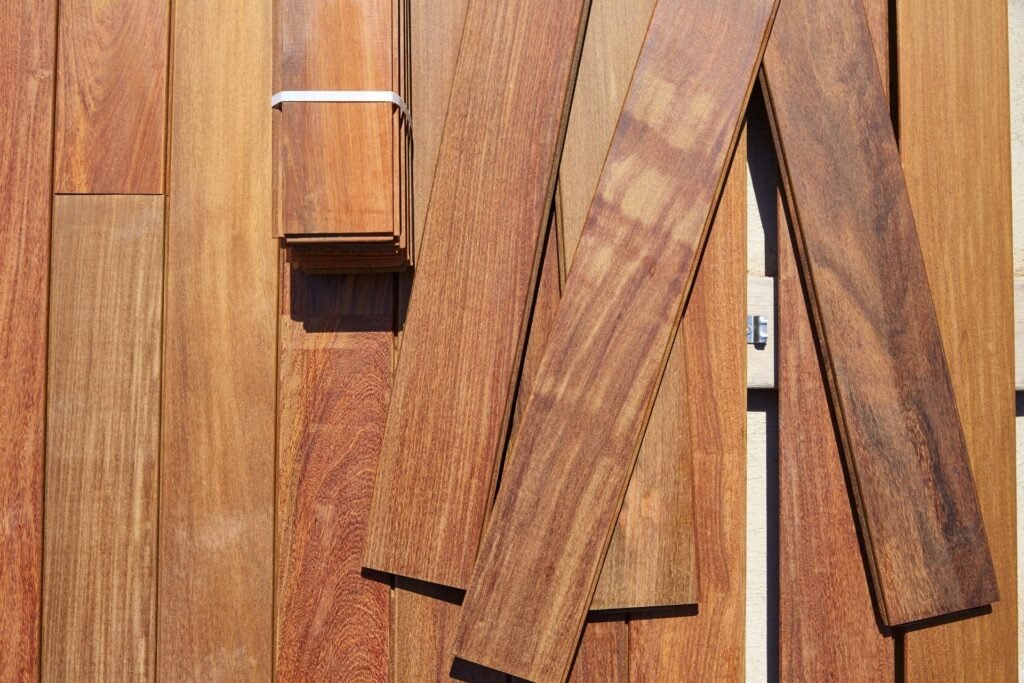
Choosing the Right Timber for Australian Conditions
The material you choose for your deck forms the foundation of your outdoor space, so it’s important to pick one that suits both your aesthetic preferences and the local environment. Australia’s climate ranges from hot and dry to tropical and coastal, which means you’ll need to think about how your deck materials will handle the elements over time.
- Treated Pine: This is a popular choice for decking in Australia because of its affordability and resistance to termites, a common issue in many parts of the country. Treated pine undergoes a process where it’s infused with chemicals that protect it from pests and decay. It’s lightweight and easy to work with, making it a great option for DIY enthusiasts. However, it may require more frequent maintenance than other materials, like resealing or staining, to keep it looking fresh.
- Hardwood (e.g., Spotted Gum, Jarrah, Merbau): For a premium look and feel, hardwoods are a top choice. Spotted gum and jarrah are native to Australia and are naturally resistant to termites and rot, making them ideal for harsh climates. While hardwood decking offers exceptional durability and a stunning finish, it comes at a higher price point and can be heavier and more difficult to install than treated pine. However, the investment is worthwhile for homeowners who want a deck that will last for decades with proper care.
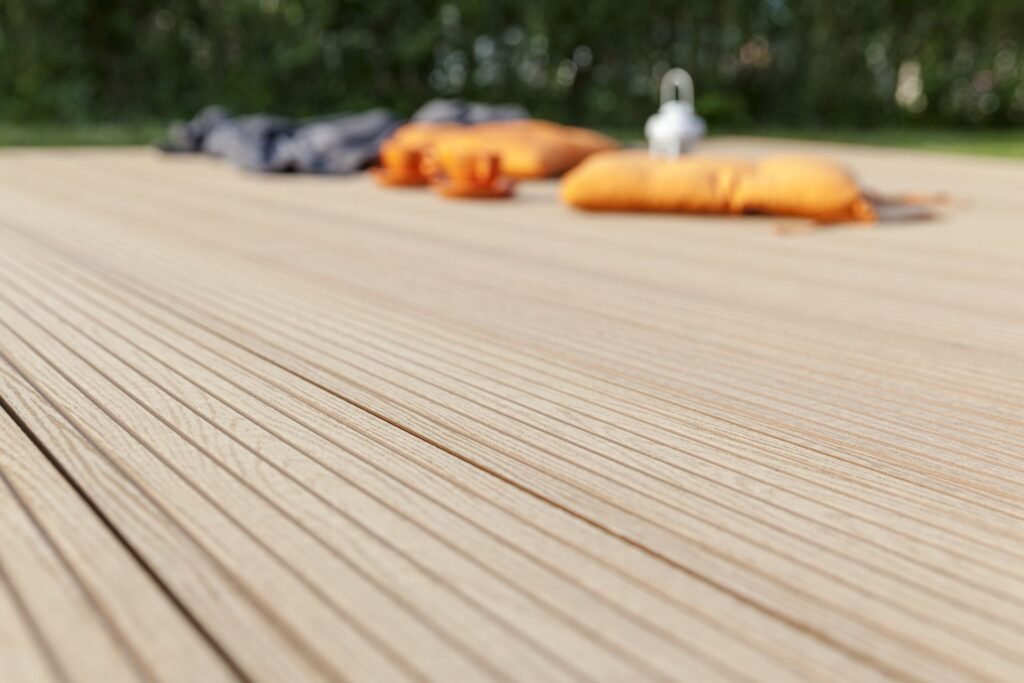
- Composite Decking: A relatively newer option, composite decking is made from a combination of recycled wood fibers and plastic. It’s highly durable, resistant to fading, warping, and staining, and requires minimal maintenance compared to natural timber. This makes it an excellent option for those looking to reduce upkeep. Composite decking also performs well in Australia’s hot and dry conditions, as it’s less likely to crack or splinter over time. Although it tends to be more expensive upfront, its longevity and low maintenance costs can balance out the initial investment.
Suitable Choices for Australia’s Diverse Climate Zones
When adding a roof to your deck, choosing materials that can withstand Australia’s varying climate is crucial. The roof will not only provide shelter from the sun and rain but will also contribute to the overall style and functionality of your outdoor space.
- Colorbond Steel: One of Australia’s most popular roofing materials, Colorbond steel is ideal for the country’s hot, dry, and often harsh climate. It’s designed to reflect heat, which helps keep the area under the roof cooler during summer. Colorbond is also corrosion-resistant, making it suitable for coastal areas where salt exposure can be an issue. The material is lightweight, durable, and available in a wide range of colors to complement your home’s exterior.
- Polycarbonate Roofing: This material is a great option for homeowners looking to let natural light into their deck area while still protecting it from UV rays. Polycarbonate sheets are lightweight and impact-resistant, making them perfect for covering decks in tropical or high-wind areas. With UV-blocking technology, polycarbonate roofing helps reduce heat while allowing for a bright, open space underneath.
- Timber Roofs: For a more rustic, natural aesthetic, timber roofing is an attractive option. However, it’s important to choose durable timber species that can withstand Australia’s climate, such as treated hardwood or cedar. Timber roofs work best in areas with less extreme weather, as they can be prone to wear and tear from constant sun exposure or heavy rainfall. Regular maintenance, such as sealing and treating for termites, is required to ensure a long lifespan.
Essential Equipment for Your Decking and Roofing Project
Building a deck with a roof is a rewarding DIY project, but it requires the right tools to get the job done safely and efficiently. Below is a list of the basic and specialized tools you’ll need to complete your project.
- Circular Saw: Essential for cutting decking boards to size. Make sure you have a sharp blade to achieve clean cuts.
- Drill and Drill Bits: A cordless drill is invaluable for driving screws and bolts. Make sure to have a variety of drill bits for different materials, like wood and metal.
- Measuring Tape and Level: Accurate measurements are crucial for ensuring your deck and roof are even and properly aligned. A spirit level will help ensure the structure is level at all times.
- Post-Hole Digger: If your deck will be raised or built on uneven ground, you’ll need a post-hole digger to create spaces for the support posts.
- Hammer and Nails: Basic but essential for any construction project. Choose galvanized nails or screws to prevent rusting, especially in coastal areas.
- Chalk Line: This tool helps ensure your cuts and deck lines are straight and precise, which is especially important for large-scale projects.
- Power Sander: To give your deck a smooth finish, a power sander will help sand down rough spots on timber decking before staining or sealing.
- Ladder: When constructing the roof, you’ll need a sturdy ladder to access higher areas safely.
- Roofing Screws and Flashing: For securing roofing materials to your deck, you’ll need appropriate screws, such as self-tapping screws for metal roofing, and flashing to seal the roof to the wall or other structures to prevent water leakage.
Choosing the right materials and tools for your deck and roof is the first step toward creating a functional, long-lasting outdoor space. Treated pine, hardwood, and composite decking each offer different benefits depending on your budget and maintenance preferences. Likewise, roofing materials like Colorbond steel and polycarbonate sheets ensure your deck is protected from Australia’s diverse weather conditions. Equipping yourself with the necessary tools will make the construction process smoother and more efficient, helping you bring your vision to life.

Step-By-Step Guide To Building Your Deck: A Complete DIY Guide
Building a deck is a rewarding project that adds value and functionality to your home. Whether you’re creating an outdoor entertaining space or a serene backyard retreat, following a step-by-step approach will help ensure the process is smooth and the result is durable and attractive. Below is a comprehensive guide on how to build your deck from the ground up, with practical tips tailored to Australian conditions.
Prepare the Site
Before you can start building your deck, it’s important to prepare the site properly. Clear any debris, plants, or obstacles from the area where your deck will be installed. The ground must be level to ensure a stable foundation and a finished product that looks professional.
- Why this is important: Poor drainage can lead to water pooling beneath your deck, causing wood rot or weakening your structure over time. To prevent this, create a slight slope away from your home to facilitate drainage.
If your yard isn’t naturally sloped, consider digging shallow trenches or installing a drainage system. This step ensures your deck remains strong and free from moisture-related issues.
Set Your Foundation (Footings and Posts)
Your deck’s foundation is crucial for its overall stability. Begin by marking out the area where the deck will sit, ensuring accurate measurements. Then, dig post holes for your footings, making sure they are spaced according to your deck design.
- Footing Depth: In Australia, local guidelines often require footings to be at least 600mm deep, though this may vary depending on soil conditions. Deeper footings may be necessary in areas with clay or sandy soil to prevent shifting.
Once you’ve dug your holes, set your footings in concrete. This creates a solid base that can support the weight of your deck and any furniture or fixtures you’ll add later. Double-check that all your footings are level before the concrete sets to avoid any future alignment issues with your posts and decking boards.
Install the Frame (Bearers and Joists)
The frame is the skeleton of your deck and provides the essential support for your decking boards. Start by attaching the bearers to your secured posts, ensuring they are perfectly level. Bearers are the horizontal supports that will hold the joists.
Next, install the joists perpendicularly to the bearers. Joists should be spaced about 450mm apart for stability. This spacing ensures that the decking boards have ample support, preventing sagging or warping over time.
Use a spirit level and tape measure frequently to check your frame’s alignment as you go. A level frame is key to a flawless deck.
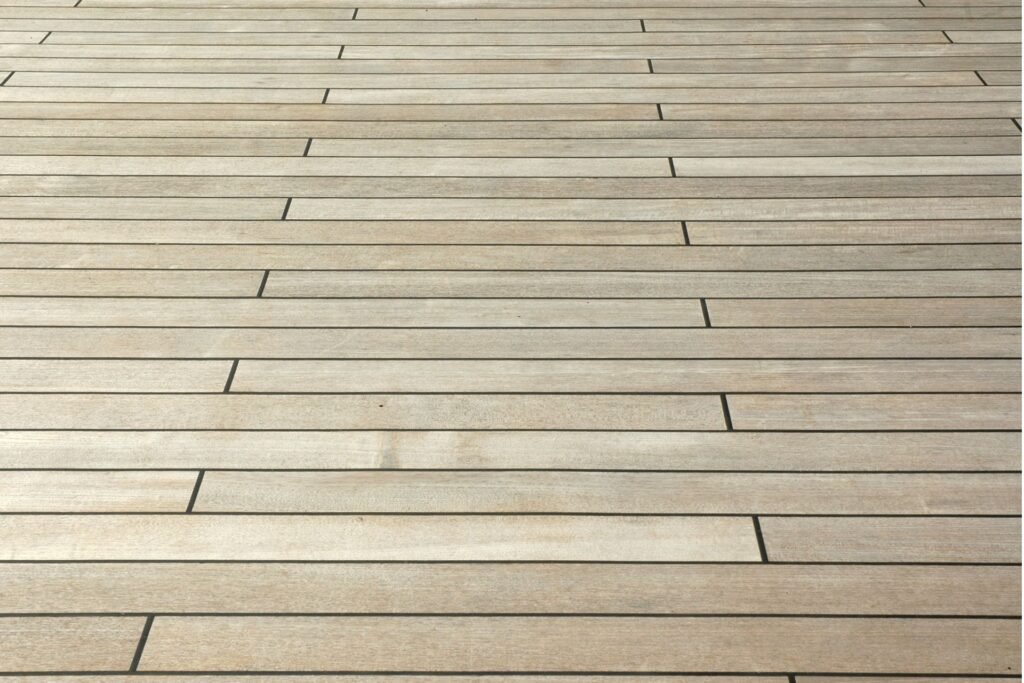
Lay the Decking Boards
Now comes the part where your deck begins to take shape! Start by laying your decking boards across the joists. Use spacers to leave a small gap about 3-5mm between each board. This gap is essential for timber expansion, as wood will contract and expand with changing weather conditions.
- Fastening: Use weather-resistant screws to attach each board to the joists. Start from one end and work your way across, keeping the gaps uniform for a neat finish.
When cutting your decking boards to size, be sure to allow for any overhang if your design includes a deck trim or border. Also, sand any rough edges for a polished look.
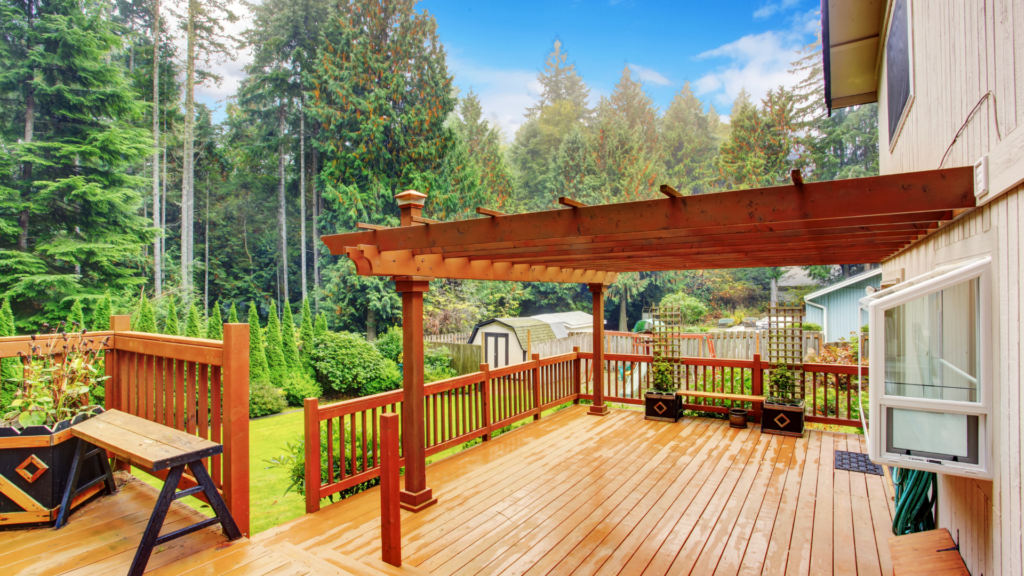
Attach the Roof Structure
If your deck includes a covered area, now’s the time to build the roof structure. Begin by securing roof beams to the tops of your deck posts. Ensure these beams are level before moving on to the rafters, which will provide the support for your roofing material. The spacing of the rafters will depend on the type of roof you’re installing, but they should generally be spaced evenly to distribute weight and keep the roof stable. Use temporary supports while installing the beams and rafters to maintain balance and stability during construction.
Install Roofing Panels
Finally, it’s time to cover your deck with roofing panels. Whether you choose Colorbond steel, polycarbonate, or another material, start at the lowest point of the roof and work your way up. This ensures proper overlap, which helps prevent leaks.
- Waterproofing: Use weatherproof screws and seal any gaps between panels to protect your deck from water damage. If your area experiences heavy rainfall, you may also want to install guttering or a downspout to manage water runoff.
While attaching the roofing panels, check for alignment regularly. Misaligned panels can lead to leaks and affect the aesthetic of your deck. By following these detailed steps, you can build a beautiful and durable deck that enhances your outdoor space. Each stage, from site preparation to laying the final roofing panels, plays a critical role in the structure’s longevity and performance. Pay attention to details like drainage, footing depth, and spacing, and your deck will be a standout feature in your home for years to come. Building a deck is a project that requires planning, precision, and patience, but with the right approach, it’s completely achievable even for DIY enthusiasts. Now, grab your tools and get started on your new outdoor oasis.

Finishing Touches For Your Deck: Ensuring Longevity And Beauty
After all the hard work of building your deck, the final stage is about adding those crucial finishing touches that not only elevate its appearance but also protect your investment for years to come. These steps, including sealing and staining the wood, managing rainwater with proper drainage, and incorporating additional features like lighting and seating, are essential for maintaining both the aesthetic and structural integrity of your deck, especially in Australia’s challenging climate.
Sealing and Staining the Deck
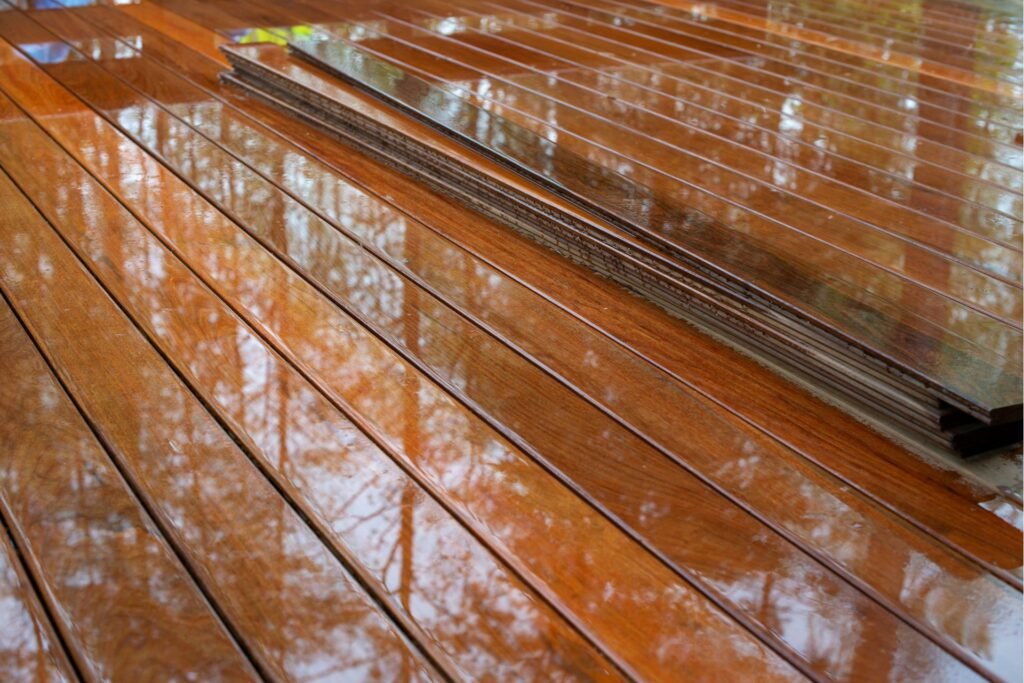
Australia’s sun and rain can be particularly harsh on outdoor wood structures. Without proper protection, your deck is vulnerable to weathering, discoloration, and even warping over time. This is where applying a high-quality weatherproof sealant or stain becomes vital.
By sealing your deck, you create a protective barrier against moisture, UV rays, and other environmental factors that can cause the wood to crack, fade, or deteriorate. Stains, on the other hand, not only offer protection but can also enhance the natural beauty of the wood, allowing you to customize its color and finish to complement your outdoor space.
- Example: Once your deck is built, it’s crucial to protect it from the harsh Australian climate. Apply a weatherproof sealant or stain to keep your timber in top condition for years to come. A good sealant will preserve the wood’s natural texture while shielding it from moisture and the sun’s harmful UV rays.
Regular maintenance, such as reapplying the sealant or stain every few years, ensures that your deck stays in prime condition, prolonging its life and preserving its beauty.
Gutters and Drainage
Proper drainage is often overlooked, but it’s a key factor in maintaining the health of your deck. Without an effective system to direct rainwater away, pooling water can lead to wood rot, mold growth, and damage to the deck’s foundation. Installing gutters and downpipes ensures that rainwater is directed away from your deck and home, preventing potential water damage.
In Australia, where heavy downpours can be frequent, installing gutters is a smart move to protect your investment. Ensure that gutters are positioned to capture rainwater efficiently and that downpipes direct it safely away from the deck and house foundations.
Installing gutters and downpipes can help direct rainwater away from your deck, preventing any water damage that could cause the wood to weaken or rot. This simple addition can significantly increase the lifespan of your deck.
Lighting and Additional Features
Once the structural work and protective measures are in place, it’s time to think about enhancing the atmosphere of your outdoor space with additional features. Thoughtful details like outdoor lighting, built-in seating, or greenery can transform your deck into a more inviting and functional area for relaxation and entertainment.
For lighting, consider energy-efficient options like solar-powered lights, which are perfect for evening gatherings. Well-placed lighting not only adds ambiance but also improves safety by illuminating pathways and steps. Built-in seating is another excellent feature that maximizes space while providing a seamless look. Incorporating planters or adding greenery can help blend your deck into the surrounding environment, giving it a natural, welcoming feel.
- Example: Consider adding solar-powered lights or built-in seating to make your new deck a welcoming space for evening gatherings or morning coffees. Not only does lighting set the mood, but it also enhances safety by illuminating steps and pathways.
By adding these finishing touches, your deck will not only look great but also function as a comfortable, versatile space that you and your guests can enjoy year-round. The finishing touches on your deck are what transform it from a simple structure into a beautiful, long-lasting extension of your home. Protecting the wood with sealants or stains, ensuring proper drainage with gutters, and adding thoughtful features like lighting and seating will help you create an outdoor space that is both durable and inviting. By paying attention to these details, you can ensure that your deck remains a stunning focal point of your home for years to come.

Maintenance Tips For Your Patio Roof And Deck
Proper maintenance is key to extending the life of your patio roof and deck. Below are some simple but essential tips to help you keep your outdoor space in top condition. Following these guidelines will not only preserve the look and functionality of your patio but also prevent costly repairs down the road.
Regular Inspections
Regular inspections are the first step to ensuring that your patio roof and deck remain in good condition. Make it a habit to check for any signs of wear, such as cracks, rot, or loose fixtures. Look closely at the connections between roof panels and supporting structures, as loose screws or rust can lead to bigger issues if left unchecked. Identifying problems early on will allow you to address them before they become more serious.
By catching minor issues like loose fixtures or early signs of decay, you can prevent major damage that could potentially compromise the structural integrity of your patio.
Cleaning the Roof
Keeping the roof of your patio clean is essential for its longevity. Dirt, leaves, and other debris can accumulate over time, causing water to pool or creating blockages that affect proper drainage. This can lead to water damage or mold growth if left unattended.
To clean the roof, use a soft broom or a low-pressure hose to remove debris without damaging the roof panels. If your roof is made from materials like polycarbonate or metal, avoid using harsh chemicals or abrasive materials that could scratch or wear down the surface. Regular cleaning ensures proper water runoff and reduces the risk of moisture-related problems.
Deck Maintenance
Decks, especially in areas with varying weather conditions like Australia, require consistent upkeep to remain in good condition. Wood decks are particularly susceptible to damage from the elements, such as sun exposure, rain, and temperature fluctuations. To maintain the natural beauty of your deck, regular cleaning and sealing are essential.
Sweep the deck to remove dirt and debris that can cause wear. Every few months, give the deck a thorough clean using a wood cleaner suitable for your deck’s material. After cleaning, reapply a sealant or stain to protect the wood from moisture and UV rays. In Australia’s climate, reapplying sealant or stain every 1-2 years is recommended to prevent cracking, warping, and fading.
- Example: To keep your deck looking fresh, give it a good clean every few months and reapply stain or sealant every 1-2 years. This not only protects the wood but also enhances its appearance, giving your outdoor space a polished look year-round.
Additional Tips
- Check for Pests: Wood decks and patio structures can be vulnerable to termites and other pests. Inspect regularly and take preventative measures, such as using treated wood or applying pest control solutions.
- Trim Surrounding Vegetation: Keep trees and bushes around your patio roof trimmed to prevent leaves and branches from falling onto the roof or deck. This also reduces the risk of moisture buildup, which can lead to mold or rot.
By following these simple maintenance steps, you can ensure that your patio and deck remain safe, functional, and visually appealing for years to come.

FAQs: About How To Build A Deck With Roof Australia
Conclusion
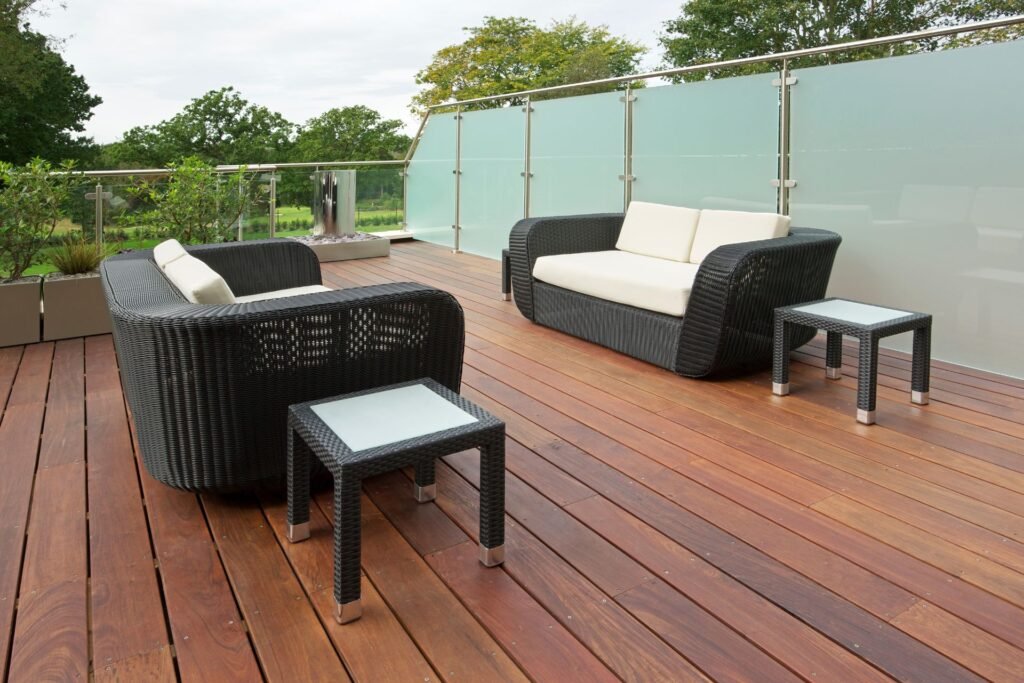
Building a deck with a roof is a rewarding project that not only extends your outdoor living space but also adds significant value to your home. The key steps involve careful planning, selecting the right materials, and ensuring the structure is both functional and aesthetically pleasing. A well-built deck with a roof provides a perfect spot for relaxation and entertainment, offering a comfortable outdoor area that can be enjoyed in any weather, whether rain or shine. With the right approach, your deck can become an inviting extension of your home where family and friends can gather year-round. Beyond the aesthetic and practical benefits, adding a roof to your deck helps protect the space from the elements, preserving the deck’s lifespan and making it more durable. Whether you’re looking to create a shaded retreat from the sun or a cozy space to enjoy during a light rain, a roofed deck is the perfect solution to maximize your outdoor living experience. If you have questions about your deck-building project, tips from your own experience, or feedback to share, we encourage you to join the conversation and leave a comment below.
About the Author:
Mike Veail is a recognized digital marketing expert with over 6 years of experience in helping tradespeople and small businesses thrive online. A former quantity surveyor, Mike combines deep industry knowledge with hands-on expertise in SEO and Google Ads. His marketing strategies are tailored to the specific needs of the trades sector, helping businesses increase visibility and generate more leads through proven, ethical methods.
Mike has successfully partnered with numerous companies, establishing a track record of delivering measurable results. His work has been featured across various platforms that showcase his expertise in lead generation and online marketing for the trades sector.
Learn more about Mike's experience and services at https://theleadguy.online or follow him on social media: