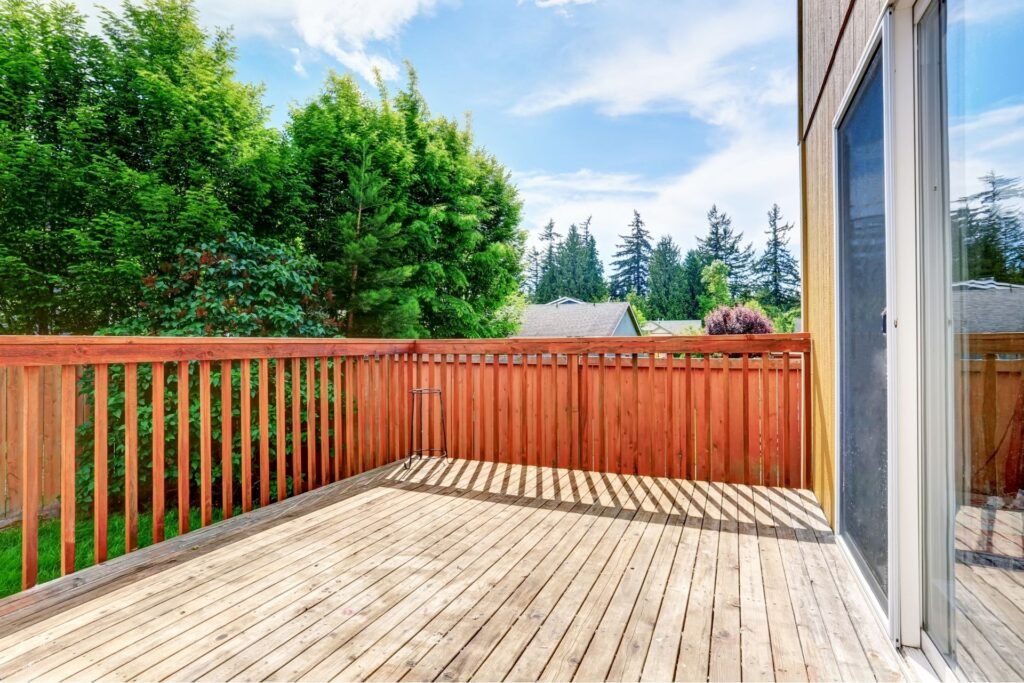
Welcome to your complete guide on how to paint decking in Australia, where we’ll walk you through every step to achieve a beautiful, long-lasting finish that can withstand the country’s harsh climate. Whether you’re looking to refresh your outdoor space or protect your deck from the sun and rain, painting your decking is a practical and rewarding project that enhances both appearance and durability. In this post, we’ll cover everything from choosing the right materials to expert tips on preparing, painting, and maintaining your deck so it looks great for years to come. Let’s get started on creating a deck you’ll be proud of.
To paint decking in Australia, start by cleaning the surface thoroughly to remove dirt and debris. Sand the deck to smooth rough areas and ensure proper paint adhesion. Choose a UV-resistant, weatherproof decking paint designed for Australian conditions. Apply two thin, even coats using a roller for large areas and a brush for edges, allowing each coat to dry fully. Regularly maintain your painted deck with cleaning and touch-ups to ensure long-lasting results.
- Why You Should Paint Your Decking
- Materials And Tools You’ll Need For Deck Painting
- Preparing Your Deck For Painting
- Picking The Perfect Deck Paint For Australian Weather
- How To Paint Your Decking: Step-By-Step Guide
- Maintenance Tips For A Long-Lasting Finish
- FAQs: About How To Paint Decking Australia
- Conclusion
Why You Should Paint Your Decking
The Benefits of Painting Your Decking
Longevity & Protection
One of the primary reasons to paint your decking is to protect the wood from various damaging elements. Decks are constantly exposed to the harsh outdoor environment, which can wear them down over time. Painting acts as a protective barrier that shields the wood from direct sunlight, preventing the UV rays from breaking down the wood fibers. This is particularly important in regions with high sun exposure, where unprotected wood can quickly become faded, dry, and prone to cracking.
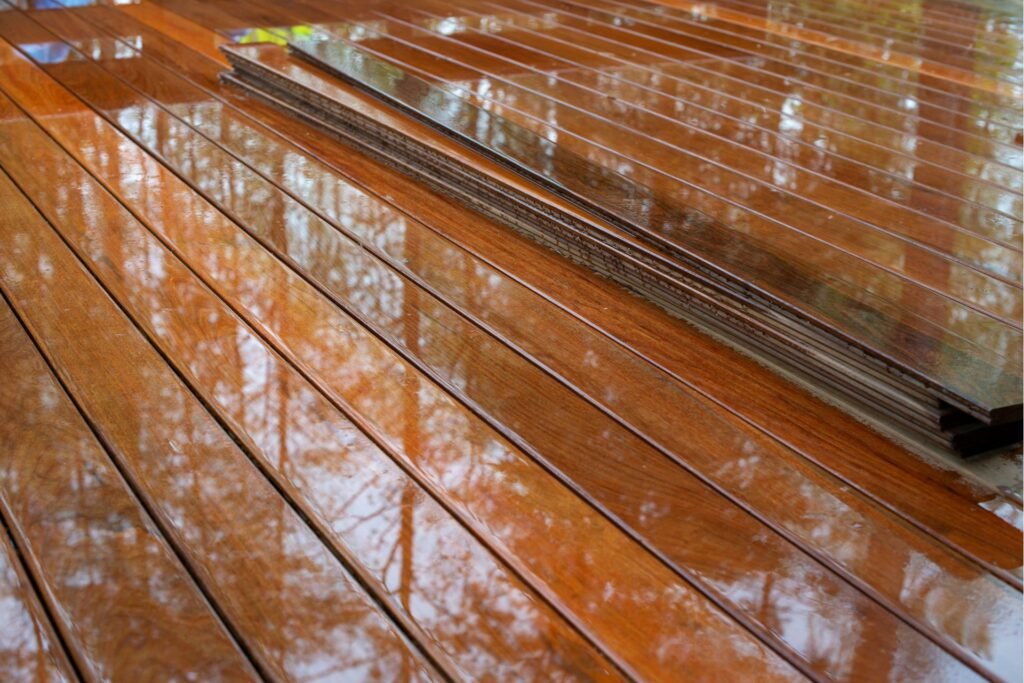
Additionally, painting your deck helps defend against moisture damage. When wood absorbs water, it can swell, warp, or even rot, compromising the structural integrity of your deck. A quality coat of paint helps to repel moisture, ensuring that rainwater doesn’t seep into the wood. This protection is vital, especially if your deck is frequently exposed to rain or high humidity. By reducing wear and tear caused by the elements, painting your deck can significantly extend its lifespan, saving you from costly repairs or replacements down the road.
Aesthetic Appeal
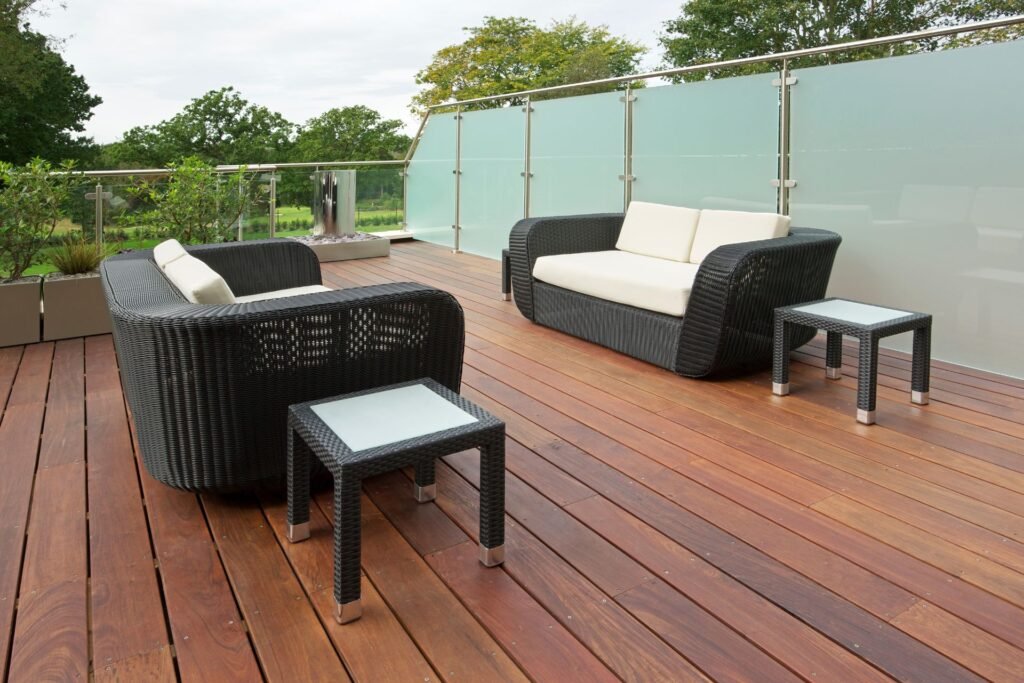
Beyond the practical benefits, painting your deck offers a chance to enhance the beauty of your outdoor space. It allows you to customize your deck to suit the style of your home and outdoor décor. Whether you prefer neutral tones that blend seamlessly with your garden or bold colors that make a statement, paint gives you the flexibility to achieve the exact look you want.
Over time, even well-maintained decks can start to look worn or aged. Painting is a cost-effective way to refresh an old deck, giving it a brand-new appearance without the need for a complete rebuild. With a fresh coat of paint, your deck can look revitalized, adding to the overall curb appeal and value of your home.
Weather Resistance in Australia
For homeowners in Australia, the weather can be particularly harsh on decking materials. The country’s climate is known for its intense UV exposure, especially during the summer months, which can quickly cause untreated wood to deteriorate. The sun’s rays can bleach the wood, causing it to lose its natural color and become more susceptible to cracking and splintering. Painting your deck provides an extra layer of protection against these harmful effects, ensuring that your wood remains in good condition, even under the hot Australian sun.
Rain and humidity are also common in many parts of Australia, which can lead to moisture damage if your deck isn’t adequately protected. A painted surface acts as a sealant, preventing water from penetrating the wood and causing issues like rot, mold, or mildew. By investing in painting, you can ensure that your decking holds up to the unpredictable Australian weather, making it a critical part of ongoing maintenance for outdoor spaces.
Sustainability
Another important benefit of painting your deck is its contribution to sustainability. Extending the life of your decking through regular maintenance, including painting, reduces the need for replacement materials over time. By preserving the wood for longer, you are minimizing waste and reducing the environmental impact of constantly sourcing new materials. This not only benefits the environment but also saves you money in the long run by reducing the frequency of deck replacements.
Painting your deck is an essential step in protecting and enhancing your outdoor space. From preventing damage caused by the elements to improving the overall look of your home, the benefits of painting are clear. For homeowners, especially those in climates like Australia’s, maintaining a painted deck is key to ensuring that it remains functional, attractive, and sustainable for years to come.

Materials And Tools You’ll Need For Deck Painting
Gather Your Tools and Materials
Before starting your deck painting project, it’s essential to have the right materials and tools on hand to ensure a smooth and long-lasting result. The quality of the materials and tools you choose will directly impact the durability and finish of your deck, especially when dealing with Australia’s unique weather conditions. Here’s a comprehensive list of what you’ll need:
List of Required Materials
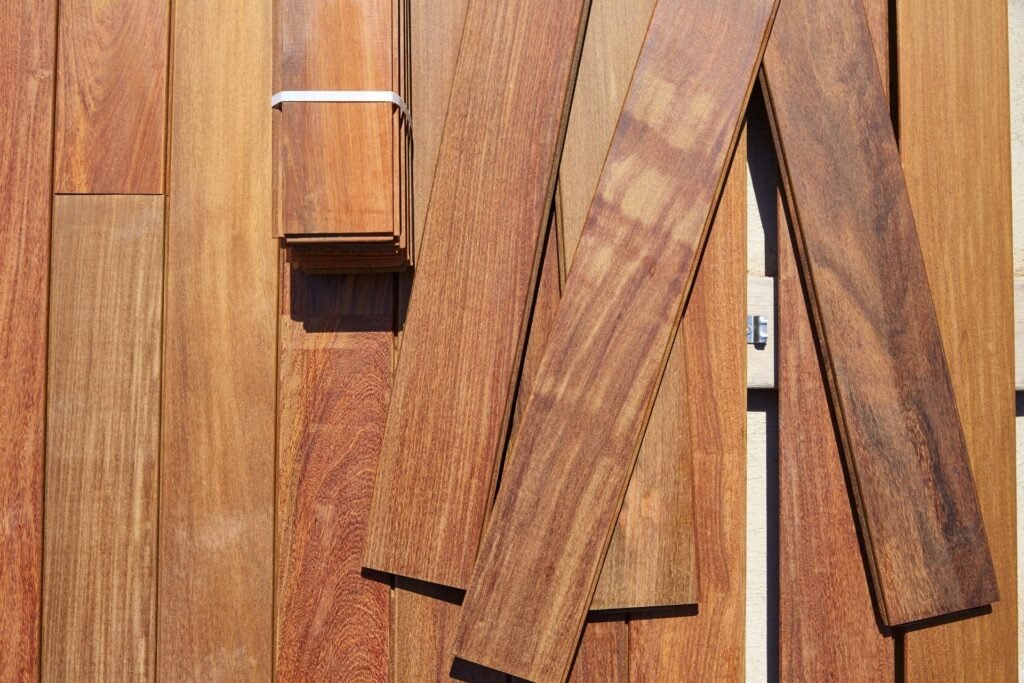
- Paint Specifically Formulated for Decking: The paint you choose is the most important part of your project. Look for decking paint that is UV-resistant and water-resistant, as these qualities will help protect your deck from harsh sun exposure, heavy rain, and general wear and tear. In Australia, where extreme weather is common, opting for high-quality decking paint designed for outdoor use can significantly extend the life of your deck. Brands offering paints with added mold and mildew resistance are also a great choice for maintaining a clean, vibrant surface.
- Primer or Undercoat (If Necessary): Depending on the type of wood your deck is made from and its current condition, you may need to apply a primer or undercoat before painting. This is especially true for decks that have been heavily weathered or haven’t been painted in years. A good primer helps the paint adhere better and ensures an even finish.
- Paintbrushes and Rollers: You’ll need different tools for different parts of your deck. Use a roller for covering large surface areas quickly and efficiently, especially on flat boards. For the edges, corners, and hard-to-reach spots, a high-quality paintbrush works best. Look for synthetic bristles, as they tend to hold paint well and offer smooth application. Make sure you have brushes of various sizes to handle detailed work around railings and posts.
- Sandpaper or Sanding Tools: If your deck has rough patches, splinters, or an old flaky finish, sandpaper is a must. For small areas, medium to fine grit sandpaper (between 80 to 120 grit) is effective for smoothing out surfaces. If you’re dealing with a larger deck or extensive wear, consider using an electric sander to save time and achieve an even surface. Smoothing the wood ensures better adhesion of the paint and a flawless finish.
- Wood Filler: Over time, decks can develop cracks or holes due to weather damage or general use. Before painting, inspect your deck thoroughly for any damage. Use wood filler to repair these areas, ensuring a smooth surface. High-quality fillers are durable and will blend seamlessly with your decking once painted.
- Paint Tray and Liner: A paint tray is essential for holding your paint while you work, especially when using rollers. Adding a tray liner helps keep cleanup quick and easy, allowing you to change colors or switch to new coats without a mess.
- Drop Cloths or Plastic Sheeting: Protect your surrounding area with drop cloths or plastic sheeting. This will safeguard your home’s exterior walls, windows, plants, and any outdoor furniture from paint splashes or spills. Use heavy-duty plastic sheeting for greater durability and protection during the project.
- Cleaning Supplies: Preparing the surface is a crucial step. Before painting, you’ll need to thoroughly clean your deck to remove dirt, mold, and old paint. Use a deck cleaner, and either a hose or pressure washer to rinse it off. For tougher stains or stubborn spots, a pressure washer is highly recommended, as it can effectively clean deep into the wood.
- Safety Equipment: Protect yourself while you work. Masks will help you avoid inhaling harmful dust or fumes, especially when sanding or applying strong primers or paints. Gloves are necessary to protect your skin from chemicals and paint, and eye protection will keep debris, paint splatter, and dust away from your eyes.
Choose Eco-Friendly and High-Quality Decking Paint
When selecting your materials, consider using eco-friendly products whenever possible. These paints and primers are not only safer for the environment but also for your family and pets. Additionally, always invest in high-quality decking paint designed for Australian conditions. It might be tempting to save money upfront, but choosing the right paint ensures your deck will withstand the test of time, reducing the need for frequent touch-ups and repainting.
The right combination of durable, weather-resistant paint and quality tools will make your deck painting project a success, delivering a beautiful and long-lasting finish that enhances your outdoor living space. This detailed, practical guide on gathering the necessary materials and tools for painting a deck in Australia ensures both a professional finish and longevity of the results. By emphasizing the importance of UV- and water-resistant decking paint, the use of proper tools, and eco-friendly options, this content is tailored to users searching for actionable advice on maintaining their deck in Australia’s challenging climate conditions.

Preparing Your Deck For Painting
Prep Your Deck Like a Pro
When it comes to painting your deck, preparation is everything. Properly prepping your deck not only ensures a smooth and long-lasting finish but also protects your investment in your outdoor space. Here’s a step-by-step guide to help you get your deck ready like a pro;
Cleaning Your Deck Thoroughly
Before you even think about painting, it’s crucial to start with a clean surface. Dirt, mold, mildew, and debris can prevent the paint from sticking to the wood, leading to a poor finish or peeling over time.
- Pressure Washer: For most decks, a pressure washer is the most efficient way to clean. The high-powered water stream will remove dirt, algae, and mildew buildup quickly. However, be careful not to use too much pressure, as it can damage the wood.
- Deck Cleaning Solution: If you don’t have access to a pressure washer, or prefer a gentler option, you can use a deck cleaning solution. Look for a product designed specifically for decks, and follow the manufacturer’s instructions. Use a stiff brush to scrub away any stubborn grime or stains.
No matter how you clean, it’s essential to let the deck dry completely before moving on. Moisture in the wood can lead to blistering or peeling paint, so waiting a full 24 to 48 hours (depending on weather conditions) is often recommended.
Inspect for Damage
Once the deck is clean and dry, take time to inspect the condition of the wood. This step is crucial, as painting over damaged wood can lead to future problems.
- Cracked or Rotting Wood: Walk across the deck and visually inspect each board. If you find small cracks, fill them with wood filler, which will smooth out the surface and prepare it for painting. For larger cracks or boards that are soft and rotting, consider replacing them altogether.
Use a screwdriver or another pointed tool to gently probe the wood for hidden rot. If the wood feels spongy or gives way easily, it’s a sign that it needs to be replaced.
Sanding the Surface
Sanding is a key step that often gets overlooked. Not only does it help smooth out rough spots and splinters, but it also creates a better surface for the paint to adhere to. Proper sanding will make your paint job look professional and ensure it lasts longer.
- Medium-Grit Sandpaper: Start with medium-grit sandpaper (around 80-100 grit), which is rough enough to remove imperfections without damaging the wood. Focus on any areas where the wood feels rough or where old paint is peeling.
- Pay Attention to Details: Make sure to sand down splinters and rough spots, as these areas can cause problems later on. If your deck has old peeling paint, be sure to sand these spots thoroughly to avoid an uneven surface.
Always sand in the direction of the wood grain to avoid creating scratches. Once you’re done sanding, sweep or vacuum the deck to remove any dust or debris before painting.
Protect Surrounding Areas
Prepping your deck isn’t just about the wood itself it’s also important to protect the areas around the deck that you don’t want to be affected by paint.
- Painter’s Tape and Drop Cloths: Use painter’s tape to mask off areas where the deck meets your home, fences, or other structures. Lay down drop cloths or plastic sheets to protect nearby plants, siding, and outdoor furniture from paint splatter or drips.
If you have delicate plants around your deck, consider moving them temporarily or using lightweight covers to protect them from paint fumes and drips.
Safety Tips for Deck Prep
When prepping your deck for painting, safety should always be a priority.
- Wear Protective Gear: Whether you’re sanding or using cleaning chemicals, it’s important to protect yourself. Wear safety goggles to protect your eyes from debris, a dust mask when sanding to avoid inhaling particles, and gloves to protect your skin from chemicals.
- Ventilation and Timing: If you’re using cleaning products, make sure you’re working in a well-ventilated area to avoid inhaling fumes. If possible, choose a day when the weather is mild, avoiding extreme heat or high humidity, which can affect drying times and comfort.
By following these steps to prepare your deck like a pro, you’ll set the stage for a successful painting project that will leave your deck looking great for years to come. The time and effort you invest in cleaning, inspecting, sanding, and protecting surrounding areas will pay off with a smooth and durable finish that enhances the beauty of your outdoor space.

Picking The Perfect Deck Paint For Australian Weather
When it comes to selecting deck paint in Australia, choosing the right type is critical for long-lasting results due to the country’s unique and often extreme climate. The Australian weather, from scorching sun to unpredictable rain, can take a toll on outdoor wood surfaces, so it’s essential to pick paint that can withstand these elements while also enhancing the look of your home.
Climate Considerations
Australia’s intense UV rays are no joke. The harsh sun can cause vibrant colors to fade faster than you’d expect, leaving your deck looking dull and worn out. That’s why opting for UV-resistant paint is key. These paints are formulated to resist fading and maintain their color over time, even when exposed to strong sunlight.
In addition to the sun, rain and high humidity are also common in many parts of Australia. These weather conditions can lead to moisture seeping into the wood, causing peeling, chipping, or even wood rot over time. To prevent this, it’s crucial to use a weatherproof paint designed to form a protective barrier against moisture. Look for paints that specifically mention waterproofing or weather resistance to ensure your deck stays in top shape, rain or shine.
Types of Deck Paint
Choosing between oil-based and water-based deck paints can be a bit confusing, but understanding the pros and cons of each will help you make the right decision for your deck.
- Oil-Based Paints: Known for their durability and longer-lasting protection, oil-based paints penetrate deeper into the wood, making them ideal for decks that endure a lot of foot traffic or exposure to harsh weather. However, they take longer to dry, and cleanup requires solvents like turpentine. Additionally, oil-based paints tend to release more VOCs (volatile organic compounds), which can have a negative impact on the environment.
- Water-Based Paints: If you’re looking for a more eco-friendly option, water-based paints are the way to go. These paints dry faster, are easier to clean up with soap and water, and typically have lower levels of VOCs, making them better for the environment. While they may not soak into the wood as deeply as oil-based paints, many modern water-based paints offer excellent protection against both UV rays and moisture, making them a solid choice for Australian decks.
Sheen Options
The sheen of your deck paint not only affects its appearance but also its practicality, especially in high-traffic areas. Here’s a quick breakdown of the different sheen levels and their best uses.
- Matte: A non-reflective finish that hides imperfections well. It’s a good choice if your deck surface isn’t perfectly smooth, but it can be more prone to staining and harder to clean.
- Semi-Gloss: Offers a slight sheen that provides a good balance between durability and appearance. Semi-gloss is easier to clean and is often the preferred choice for decks because it’s tough enough to withstand frequent use without being overly shiny.
- Gloss: A high-sheen finish that’s extremely durable and easy to clean. While it can look stunning on a deck, especially in a modern setting, gloss finishes are more likely to show imperfections and may become slippery when wet.
For high-traffic areas, semi-gloss is often the best choice as it combines durability with a refined look.
Colour Selection
When it comes to choosing the color of your deck paint, there are both aesthetic and practical considerations to keep in mind. First, think about the overall style of your home and the surrounding landscape. A deck that complements its environment will enhance the overall appeal of your outdoor space.
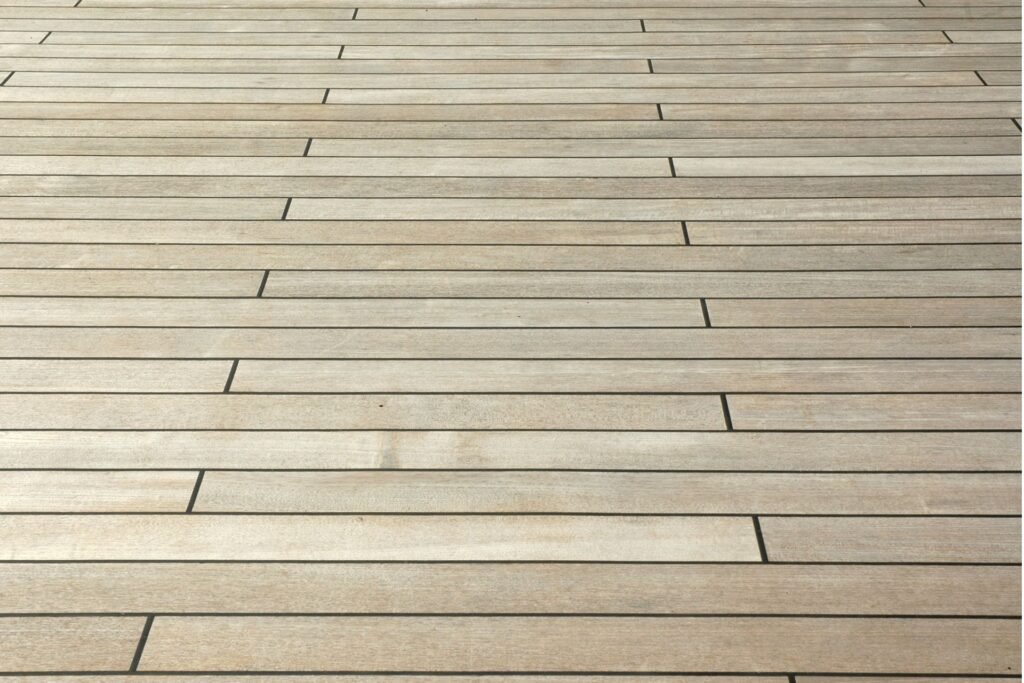
For example, if you have a home surrounded by greenery, earthy tones like browns, greys, or muted greens can blend in beautifully with the natural surroundings. On the other hand, a modern or coastal home might benefit from lighter, brighter hues like light grey, white, or pale blue.
One important thing to consider, especially in Australia’s hot climate, is that lighter colors reflect more heat than darker shades. This can be a practical choice if your deck gets a lot of direct sunlight, as a lighter-colored deck will stay cooler underfoot compared to darker shades, which tend to absorb more heat.
Before you commit to a full deck repaint, it’s always a good idea to test a few paint samples on a small, hidden section of your deck. This allows you to see how the color looks in natural light and ensures it complements your space. Different lighting conditions can affect how the paint appears, and this simple step can save you from making a color choice you might later regret. By taking into account these factors climate, paint types, sheen options, and color selection you’ll be well on your way to choosing the perfect deck paint that will stand the test of time in Australia’s challenging weather.

How To Paint Your Decking: Step-By-Step Guide
Your deck is an outdoor extension of your home, so giving it a professional-looking paint job is essential for both aesthetics and longevity. Whether you’re refreshing an old finish or starting from scratch, painting your decking can be an easy DIY project that transforms your space. Follow this detailed step-by-step guide to ensure your deck looks flawless and stands the test of time.
Prime the Surface
The first step to achieving a long-lasting and even finish on your decking is to assess whether your surface needs priming. A primer is essential when you’re working with bare wood or when you plan to switch from a darker color to a lighter one. Priming helps the paint adhere better to the surface, ensuring a smooth and consistent finish while also enhancing durability.
- When to Use a Primer: If your deck has never been painted or stained, or if you are switching from a dark color to a lighter hue, you’ll need to prime it first. Primers fill in the porous surface of wood, creating a better bonding layer for the paint.
- When Primer Isn’t Necessary: If your decking already has a well-adhered coat of paint that’s in good condition and you’re repainting with the same or a similar color, you can often skip this step and move straight to painting.
Make sure to choose a high-quality, outdoor primer designed specifically for wooden decks. Let the primer dry completely according to the manufacturer’s recommendations before moving on to the next step.
Apply the First Coat of Paint
Once the primer is fully dry (if applicable), it’s time to apply the first coat of paint. To achieve a smooth, even finish, it’s crucial to use the right tools and technique.
- Choose Your Tools: For large, flat areas of the deck, a roller works best to cover the surface quickly and evenly. For the edges, corners, and between the deck boards, use a high-quality paintbrush to reach those tight spaces.
- Apply Thin, Even Coats: Avoid the temptation to apply thick coats of paint. Thin coats will dry more evenly and reduce the chances of drips, puddling, or peeling.
- Follow the Grain of the Wood: Always paint in the direction of the natural grain of the wood. This technique ensures better coverage and helps the paint to adhere properly.
- Drying Time: Allow sufficient drying time between coats. Depending on the weather conditions and the type of paint you’re using, this could range from a few hours to a full day. It’s important to wait until the first coat is completely dry before applying the next one. In Australia’s warmer climates, drying times may be shorter, but keep an eye on humidity, as it can extend drying times.
Apply a Second Coat
The second coat of paint isn’t just about aesthetics it adds an additional layer of protection to your deck, ensuring the finish lasts longer and can withstand exposure to the elements. This step also helps cover any areas that might have been missed or uneven in the first coat.
- Why the Second Coat is Important: A second coat ensures durability, protecting your deck from harsh weather conditions and foot traffic. It also helps deepen the color and provides a more uniform finish.
- Timing Your Second Coat: It’s essential to apply the second coat under the right conditions. In Australia, the climate can range from hot and dry to humid, so keep an eye on the temperature and humidity. Ideal painting conditions are between 10°C and 30°C, with low humidity. Avoid painting in direct sunlight, as it can cause the paint to dry too quickly and lead to cracking or blistering.
One of the most common mistakes when painting a deck is rushing the process. Allow the paint to dry thoroughly between coats, and avoid painting during peak sunlight hours. If the deck is exposed to too much heat or sunlight while the paint is drying, it can lead to uneven results, bubbling, or even peeling down the road. Take your time to ensure a professional-looking finish that will last for years.
Finishing Touches and Cleanup
After the second coat has dried completely, you’re almost done! Now it’s time to focus on the finishing touches and clean up.
- Remove Tape Carefully: If you’ve used painter’s tape to protect edges or adjoining surfaces, make sure to remove it slowly and carefully while the paint is still slightly soft. This will prevent the paint from peeling off with the tape.
- Clean Your Tools: Properly cleaning your brushes and rollers is important if you want to use them again in the future. Water-based paints can be cleaned with water and mild soap, while oil-based paints require mineral spirits or paint thinner.
- Store Leftover Paint: Save any leftover paint for future touch-ups. Seal the paint can tightly and store it in a cool, dry place. Be sure to label the paint with the color and date, so it’s easy to identify later.
By following these steps, you’ll be well on your way to a deck that not only looks beautiful but will also withstand the elements for years to come. Taking the time to prime (if needed), apply thin, even coats, and finish the job with care will ensure you get professional-quality results. Happy painting.

Maintenance Tips For A Long-Lasting Finish
Keep Your Deck Looking Fresh for Years
A beautifully finished deck can be a focal point of your outdoor space, but keeping it in top shape requires a little care. With routine maintenance, you can ensure your deck looks as good as new for many years to come. Here are some essential maintenance tips to extend the life of your deck’s finish and keep it looking fresh.
- Routine Cleaning: One of the simplest ways to maintain your deck’s finish is through regular cleaning. Over time, dirt, debris, and moisture can accumulate, leading to mildew buildup that can damage the finish and even the deck’s wood. To prevent this, it’s a good idea to clean your deck every few months, especially during the spring and summer seasons when outdoor activity increases.
A mild detergent mixed with water and applied with a soft broom or brush is all you need to lift away grime. Avoid using harsh chemicals or pressure washers, as these can damage the finish. Instead, gently scrub the surface to remove dirt and allow the deck to dry thoroughly. This routine cleaning will not only maintain the appearance of your deck but also protect its finish from long-term wear.
- Touch-Ups: Over time, minor chips, peeling, or scratches can appear on the deck’s surface. If left unchecked, these small imperfections can grow into larger problems, potentially leading to more extensive damage. To keep your deck looking pristine, it’s important to handle touch-ups as soon as you notice them.
It’s always a good idea to save a small amount of paint or stain after your initial application. This way, you have the exact match for quick fixes. Use a small brush to dab on paint or stain in affected areas, covering any chips or peeling spots. This proactive approach can help you avoid more significant repairs down the line and will ensure your deck retains a uniform finish.
- Repainting Schedule: Even with regular cleaning and touch-ups, your deck will need a fresh coat of paint or stain eventually. The timeline for repainting largely depends on the exposure to weather conditions. Decks that face constant sunlight, rain, or snow may need repainting every 2-3 years to keep the finish intact.
A well-maintained deck with some protection from the elements might extend this timeline to 3-5 years. However, it’s always a good idea to inspect your deck’s finish regularly and repaint when you start to see signs of fading, peeling, or significant wear. Repainting on schedule can prevent deeper damage to the wood and maintain the visual appeal of your deck.
- Seasonal Inspections: Conducting regular inspections, particularly after harsh seasons, is a crucial part of deck maintenance. Extreme summer heat can cause wood to dry out, while rainy or snowy seasons can introduce moisture, leading to warping or cracking.
Each year, take the time to thoroughly inspect your deck. Look for signs of wear like fading, peeling, or cracked boards. Pay attention to areas that are frequently exposed to the sun or those that remain wet for extended periods. Addressing issues early ensures that small problems won’t become big ones, helping you extend the lifespan of your deck’s finish.
By following these maintenance tips routine cleaning, touch-ups, sticking to a repainting schedule, and seasonal inspections you can keep your deck looking beautiful and fresh for years to come. Investing time in proper care now will save you from more costly repairs and ensure that your deck remains a cherished part of your outdoor living space.

FAQs: About How To Paint Decking Australia
Conclusion
Achieving a beautifully painted deck requires proper preparation, attention to detail, and the use of high-quality materials. It’s essential to begin by thoroughly cleaning and sanding the surface, as this sets the foundation for a smooth, long-lasting finish. Selecting the right paint or stain designed specifically for outdoor use is equally important, as it ensures durability against the elements. Each step in the process, from priming to applying multiple coats, plays a crucial role in creating a professional-level result. By following the outlined steps carefully and patiently, you can transform your outdoor space into a visually appealing and functional area that withstands wear over time. Now is the perfect time to take action on your deck painting project! Start by gathering all the necessary tools and materials, and follow the guide step-by-step to ensure a flawless finish. Refreshing your deck not only improves its appearance but also adds value to your home by extending its lifespan. There’s something incredibly satisfying about completing a home improvement project, and the results of a well-painted deck are well worth the effort. Whether you’re hosting family gatherings or simply enjoying a quiet afternoon outdoors, a freshly painted deck enhances the overall beauty and enjoyment of your outdoor living space.
About the Author:
Mike Veail is a recognized digital marketing expert with over 6 years of experience in helping tradespeople and small businesses thrive online. A former quantity surveyor, Mike combines deep industry knowledge with hands-on expertise in SEO and Google Ads. His marketing strategies are tailored to the specific needs of the trades sector, helping businesses increase visibility and generate more leads through proven, ethical methods.
Mike has successfully partnered with numerous companies, establishing a track record of delivering measurable results. His work has been featured across various platforms that showcase his expertise in lead generation and online marketing for the trades sector.
Learn more about Mike's experience and services at https://theleadguy.online or follow him on social media: