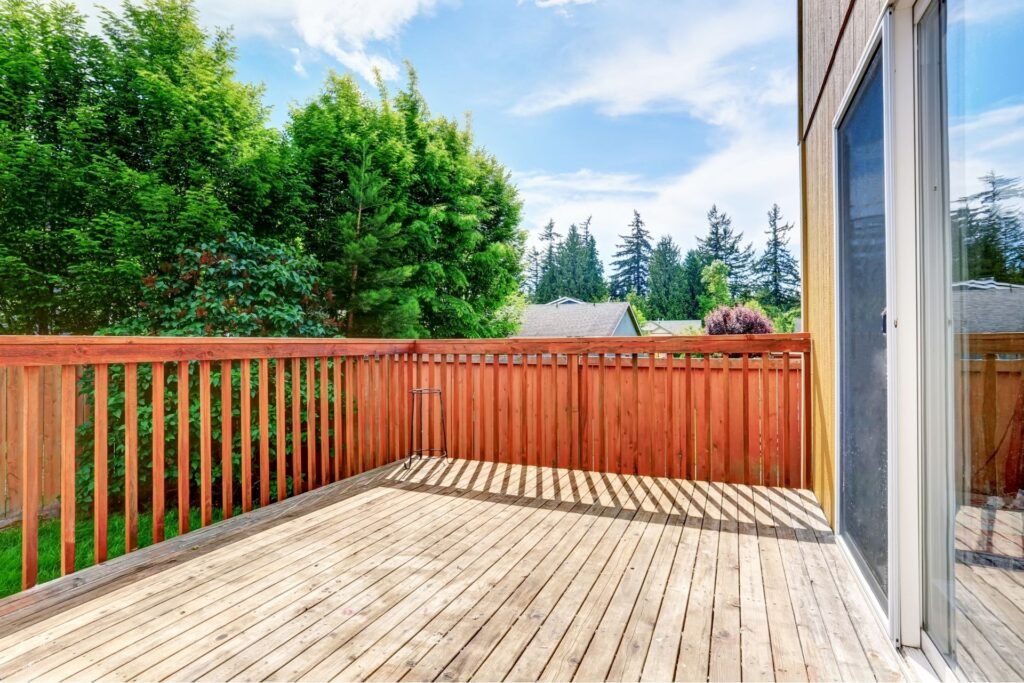
Welcome to your ultimate guide on how to stain a deck in Australia. If you’re looking to refresh your outdoor space and protect your deck from the harsh Aussie elements, you’ve come to the right place. Whether you’re enjoying a BBQ with friends or relaxing with family, a well-maintained deck plays a big role in creating those perfect outdoor moments. In this guide, we’ll walk you through everything you need to know about staining your deck from choosing the right stain for Australia’s climate to the step-by-step process of applying it for a flawless finish. Let’s dive in and get your deck looking its best.
To stain a deck in Australia, start by thoroughly cleaning the surface to remove dirt, mildew, and old stains. Sand the deck to ensure smooth wood, then choose a stain suitable for Australian weather conditions, like an oil-based or water-based product with UV protection. Apply the stain evenly using a brush or roller, starting with one coat and allowing it to dry fully before applying a second coat. Regular maintenance, including cleaning and re-staining every 2-3 years, will help protect the deck from harsh sun and rain.
- Understanding Your Deck: Types Of Wood Commonly Used In Australia
- Preparing Your Deck For Staining: A Step-By-Step Guide
- Choosing The Right Stain For Your Deck
- Step-By-Step Guide To Staining Your Deck
- Maintenance Tips To Keep Your Deck Looking Great
- Common Mistakes To Avoid When Staining Your Deck
- FAQs: About How To Stain A Deck
- Conclusion
Understanding Your Deck: Types Of Wood Commonly Used In Australia
When it comes to building or maintaining a deck in Australia, one of the most important decisions is choosing the right timber. The climate and environment can significantly impact the longevity and appearance of your deck, so understanding the types of wood commonly used is crucial. Let’s take a closer look at some popular timber choices, how they react to staining, and the specific weather-related considerations depending on your location.
Popular Timber Choices in Australia
- Jarrah: Jarrah is a native Australian hardwood that is highly sought after for its strength, durability, and stunning reddish-brown color. It’s a dense timber, making it resistant to wear, rot, and insect attack, which is ideal for outdoor decks. Over time, Jarrah ages beautifully to a silvery-grey tone if left untreated. It’s a fantastic choice for areas that experience heavy foot traffic or exposure to moisture.
- Merbau: Another popular hardwood for decking, Merbau originates from Southeast Asia and the Pacific Islands. Known for its deep, rich brown hue, Merbau is highly durable and naturally resistant to termites, making it a long-lasting choice for outdoor decks in Australia. However, one thing to keep in mind with Merbau is its tendency to bleed tannins, especially when new, which can stain surrounding areas if not handled properly.
- Treated Pine: Treated pine is a versatile and cost-effective option. Unlike hardwoods, pine is a softwood, so it’s less durable on its own but is often treated to enhance its resistance to pests, decay, and moisture. Because of its affordability, treated pine is a great option for those looking to build a deck on a budget. However, it does require regular maintenance to ensure longevity and keep it looking its best.
- Spotted Gum: Spotted Gum is another native Australian hardwood, known for its attractive color variations, ranging from pale browns to dark reddish browns. It’s a durable option with high resistance to weather and decay, making it perfect for outdoor settings. Spotted Gum’s unique grain pattern also gives it a distinct aesthetic appeal.
- Blackbutt: Another Australian native, Blackbutt is a pale-colored hardwood that is highly durable and fire-resistant, making it a popular choice in bushfire-prone areas. Its light tones and straight grain make it an attractive choice for contemporary decking designs.
Why Staining is Important for Each Type
Staining is an essential part of deck maintenance, no matter which type of timber you choose. Each wood type reacts differently to stains and finishes, and understanding how your chosen timber responds will help prolong its life and keep it looking great.
- Jarrah: This dense hardwood doesn’t absorb stains as readily as softer woods, so it’s important to choose a stain that penetrates deep into the wood fibers. Staining Jarrah can help maintain its rich color and prevent it from fading to grey over time due to UV exposure.
- Merbau: Staining Merbau is important to prevent UV damage and keep its rich brown color intact. Additionally, applying a stain helps to minimize the bleeding of tannins that Merbau is known for.
- Treated Pine: Being a softer wood, treated pine can absorb stains more readily, but it’s also more susceptible to weathering. Staining treated pine not only enhances its appearance but also helps protect it from moisture, UV rays, and rot.
- Spotted Gum: Like Jarrah, Spotted Gum is dense, meaning it benefits from a high-quality stain that penetrates well. Staining helps protect this hardwood from Australia’s harsh sun and keeps its unique grain and color vibrant.
- Blackbutt: This timber’s lighter color can show dirt and wear more easily, so staining is essential for maintaining its appearance. A good stain will also protect Blackbutt from moisture and UV damage, ensuring it remains resistant to the elements.
Considerations Based On Location
Australia’s diverse climate plays a significant role in how well your deck holds up over time. Depending on where you’re located, you may need to take additional measures to protect your deck from the elements.
- Coastal Areas: If you live in a coastal region, your deck will be exposed to salty air, high humidity, and strong winds. Salt can cause timber to deteriorate more quickly, while moisture increases the risk of rot and decay. In these areas, it’s essential to choose timber that’s naturally resistant to moisture and rot, like Merbau or Jarrah. Regular staining is also critical in coastal areas to create a barrier against moisture and prevent premature wear.
- Dry and Arid Regions: In Australia’s dry, inland regions, the primary concern for your deck is UV exposure. The harsh Australian sun can cause timber to fade and become brittle over time. Woods like Spotted Gum and Blackbutt, which are naturally more resistant to heat and UV, are good choices for these areas. Applying a UV-resistant stain is a must to prevent the timber from drying out and cracking.
- Tropical Regions: Northern Australia’s tropical climate means your deck will likely be exposed to heavy rainfall and humidity. This constant moisture can lead to warping, swelling, or even mold growth. Choosing a timber that handles moisture well, like treated pine or Merbau, is important in these regions. Regular staining and sealing are essential to protect your deck from the wet environment.
- Bushfire-Prone Areas: In areas prone to bushfires, it’s crucial to choose a fire-resistant timber like Blackbutt or Spotted Gum. While these woods have natural fire resistance, applying a fire-resistant stain or finish can further enhance their ability to withstand high temperatures.
By understanding the types of timber available, how they react to stains, and what factors to consider based on your location, you can make an informed decision that will ensure your deck remains a beautiful and functional part of your home for years to come. Regular maintenance, including staining and sealing, is the key to protecting your investment from Australia’s diverse and often harsh climate.
Preparing Your Deck For Staining: A Step-By-Step Guide
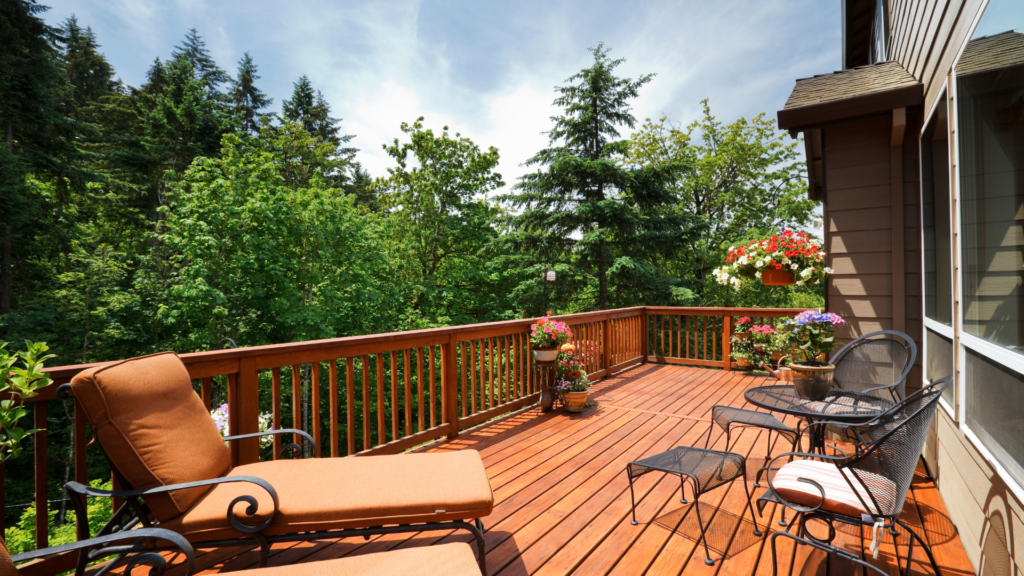
Staining your deck can enhance its appearance and extend its life, but before you dive in, preparing the surface is crucial. Proper preparation ensures better stain absorption and leads to a longer-lasting, more professional finish. Below, we’ll walk you through the necessary steps to prepare your deck for staining, ensuring that your hard work will pay off for years to come.
Why Prep is Essential
Skipping or rushing the preparation stage can result in uneven staining, peeling, or the stain wearing off too soon. Proper prep allows the stain to penetrate the wood deeply, creating a more durable and beautiful finish. This means you won’t have to re-stain your deck as often, saving time and money in the long run. It also prevents issues like mold growth or wood damage, ensuring the deck not only looks good but remains structurally sound.
Step-by-Step Process for Preparing Your Deck
Cleaning the Deck
Before applying any stain, it’s essential to thoroughly clean the deck. Over time, decks accumulate dirt, mildew, and even remnants of old stains, all of which can prevent the new stain from adhering properly. There are two main methods for cleaning your deck.
- Deck Cleaners: These specially formulated products help to remove grime, mold, and any old finishes. Eco-friendly options like Simple Green Deck & Fence Cleaner or Wet & Forget are excellent choices available in Australia. These products are biodegradable and safe for use around plants, pets, and the environment. You can find these eco-friendly deck cleaners at Bunnings Australia, which offers a wide range of deck cleaning products to suit your needs.
- Pressure Washing: If you prefer a faster and more intensive method, pressure washing is a great option. This method uses high-pressure water to blast away dirt and mildew. However, it’s important to use the correct pressure setting (typically between 500 to 1,200 psi) to avoid damaging the wood fibers.
Always start with a clean surface, as this is critical for proper stain absorption.
Repairing Any Damage
After cleaning, it’s time to inspect your deck for any signs of wear or damage. This step is important not only for aesthetic reasons but for the safety and longevity of your deck.
- Cracks and Splinters: Small cracks or splinters in the wood should be repaired with wood fillers. Choose a filler that matches the wood type and is stainable, ensuring a uniform appearance once the stain is applied.
- Loose Nails or Screws: Check for any loose nails, screws, or boards. These should be secured or replaced to avoid potential hazards and to create a smooth, even surface for staining.
Taking the time to fix these issues now will help prevent larger problems later, like wood rot or structural damage.
Sanding the Surface
Once the deck is clean and repaired, sanding is the next critical step. Sanding helps remove any remaining old stain or finish, smooths out rough spots, and opens up the wood grain for better stain absorption.
- Tools Required: An orbital sander is the ideal tool for this task, as it’s easy to use and provides even sanding. For best results, use a medium grit sandpaper (80 to 120 grit) on flat surfaces and a finer grit (150 to 180 grit) for railings and more detailed areas.
- Safety Tips: Sanding produces a lot of dust, so wearing a dust mask and safety goggles is essential. Also, ensure that the sander’s cord is safely out of the way to prevent accidents.
Drying Time
Once your deck is cleaned, repaired, and sanded, it’s important to let it dry thoroughly before applying any stain. The drying time will depend on several factors, including the weather and humidity levels in your area.
- Wait Time: In general, you should wait at least 24 to 48 hours after cleaning or sanding your deck before staining. In Australia, where humidity levels can vary widely depending on the season and location, it’s wise to check the weather forecast and choose a dry, sunny day for staining.
- Humidity Considerations: High humidity can extend drying times, while very dry conditions might shorten them. It’s crucial to ensure the deck is completely dry to avoid trapping moisture under the stain, which could lead to peeling or mildew growth.
Proper preparation is the key to achieving a long-lasting and beautiful stain on your deck. By cleaning, repairing, sanding, and allowing adequate drying time, you ensure that the stain will penetrate deeply and evenly into the wood, resulting in a finish that enhances your deck’s appearance while protecting it from the elements. Whether you’re using eco-friendly cleaning products or sanding the surface to perfection, each step plays an important role in the overall quality and longevity of your stained deck. So take your time during this phase, and your deck will reward you with years of beauty and durability.

Choosing The Right Stain For Your Deck
When it comes to maintaining your deck, choosing the right stain is crucial to ensure it remains protected and looking great for years to come. In Australia, where decks are often exposed to harsh sunlight, varying weather conditions, and moisture, selecting the appropriate stain can make a huge difference. Here’s a guide to help you understand the different types of stains and what factors to consider when selecting the best one for your deck.
Types of Stains
There are several types of stains to choose from, each with its own advantages and disadvantages. Understanding these will help you make an informed decision based on your deck’s material, aesthetic preferences, and the local climate.
Oil-Based vs. Water-Based Stains
Both oil-based and water-based stains have their merits, and the choice largely depends on your deck’s exposure to the elements, maintenance preferences, and environmental concerns.
- Oil-Based Stains: Oil-based stains penetrate deep into the wood, offering superior protection from within. This makes them an excellent option for high-traffic areas or older decks that need more intense nourishment. Oil-based stains are known for their durability, which is particularly beneficial in regions with extreme weather conditions. For example, if you live in coastal areas where moisture and salt can damage the wood, an oil-based stain will provide a strong barrier. However, these strains take longer to dry and can be harder to clean up, often requiring solvents.
- Water-Based Stains: Water-based stains, on the other hand, are favored for their quick-drying properties and easier clean-up, which can be done with just soap and water. They are generally more eco-friendly, emitting fewer volatile organic compounds (VOCs), making them a popular choice for environmentally conscious homeowners. In Australia’s hot climate, water-based stains hold up well, especially in dry, inland areas. They also tend to resist mold and mildew better than oil-based stains. However, they don’t penetrate as deeply as oil-based stains, which may mean more frequent reapplication.
Transparent, Semi-Transparent, and Solid Stains
The look you want to achieve and the type of wood your deck is made from will influence whether you go for a transparent, semi-transparent, or solid stain.
- Transparent Stains: Transparent stains are ideal if you love the natural beauty of your wood and want to showcase the grain. They offer minimal pigmentation, which enhances the natural look of the deck while providing some protection. These are best suited for newer wood or high-quality timber like hardwoods that don’t require heavy protection. However, since transparent stains offer less UV protection, they may need reapplication more frequently, particularly in Australia’s sunny environment.
- Semi-Transparent Stains: Semi-transparent stains offer a balance between showing off the wood grain and adding a bit of color. They add a hint of tint while still allowing the natural beauty of the wood to shine through. This is a great choice for decks that need moderate UV protection, and it works well with a variety of wood types. Semi-transparent stains are perfect for homeowners who want to protect their deck while enhancing its aesthetic appeal.
- Solid Stains: Solid stains, sometimes referred to as opaque stains, provide the highest level of coverage and protection. They are ideal for older decks with imperfections, as the thick pigmentation can hide blemishes, giving the wood a uniform look. Solid stains are highly durable and offer the most UV protection, making them a strong choice for decks exposed to constant sun or rough weather conditions. However, they do hide the wood grain entirely, which may not be the desired look for some homeowners.
UV Protection and Weather Resistance
One of the most important factors to consider when choosing a deck stain in Australia is its ability to withstand the sun’s powerful UV rays. Prolonged sun exposure can cause the wood to fade, dry out, and crack over time. A stain that offers UV protection is essential, especially in regions that experience long, hot summers.
Additionally, Australian weather can be unpredictable, with cycles of heavy rain, heat, and humidity. A good deck stain should also offer weather resistance, protecting your deck from moisture, mold, and mildew. If your deck is located in an area that gets a lot of rain or near the coast where salty air can corrode materials, choosing a stain with added water repellency and mildew inhibitors will be crucial for long-term durability.
Popular Brands in Australia
When it comes to deck stains, choosing a reliable brand that suits Australian conditions is essential. Here are a few well-known options.
- Cabot’s: Cabot’s is a popular brand in Australia, known for its range of high-quality decking products. They offer both oil-based and water-based stains, and their products are formulated to withstand Australian climates. Cabot’s Aquadeck, for example, is a great water-based option that provides strong UV protection and weather resistance.
- Intergrain: Intergrain is another trusted Australian brand that focuses on eco-friendly, water-based stains. Their products are designed to offer long-lasting protection, making them ideal for harsh conditions. Intergrain UltraDeck is a semi-transparent, water-based stain that’s particularly suited for timber decks exposed to sunlight and rain.
- Feast Watson: Feast Watson is known for its premium-quality stains that deliver a professional finish. Their range includes both oil and water-based options, and they are specifically formulated to protect against the extremes of Australian weather. Feast Watson Decking Oil is a popular oil-based stain that deeply nourishes the wood while providing excellent UV protection.
Selecting the right stain for your deck in Australia means considering factors such as climate, deck material, and the level of protection you need. Whether you opt for an oil-based or water-based stain, or a transparent versus solid finish, choosing a high-quality product that’s designed for Australian conditions will ensure your deck remains beautiful and protected for years to come.
Step-By-Step Guide To Staining Your Deck
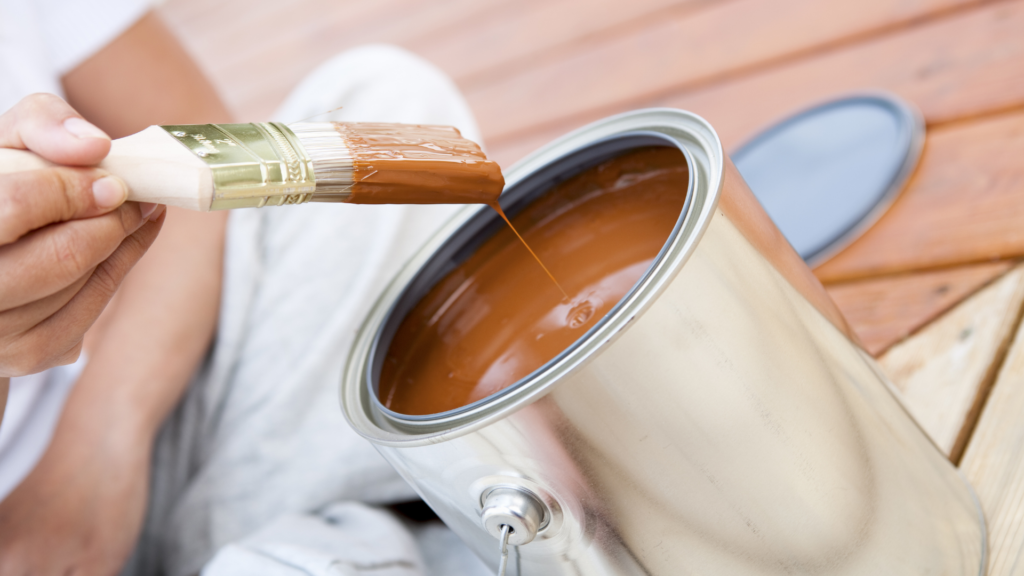
Staining your deck is a rewarding process that not only enhances the beauty of your outdoor space but also protects the wood from the harsh Australian elements. Follow this comprehensive guide to achieve a professional-looking result.
Essential Tools and Materials
Before starting, ensure you have all the necessary tools and materials.
- Paintbrushes: Ideal for precision work and corners.
- Rollers: Perfect for covering larger surfaces quickly.
- Staining pads: Great for a smooth, even finish on wide, flat areas.
- Drop cloths: Protect your surrounding areas from spills and splashes.
- Safety gear: Gloves, safety glasses, and masks to keep yourself safe from fumes and chemicals.
You can find all these items at your local hardware stores like Bunnings, making it easy to gather everything you need in one place.
Application Process
How to Evenly Apply the Stain
Applying the first coat is crucial for achieving a uniform, professional finish. Here’s how to do it right.
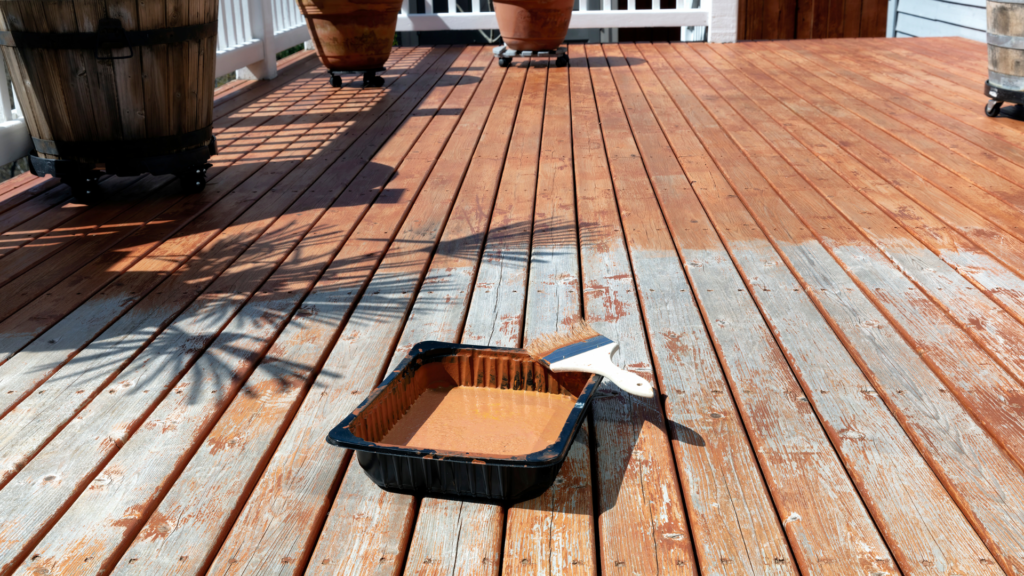
- Using a Paintbrush: When using a brush, dip it about a third of the way into the stain to avoid overloading. Apply long, even strokes, following the wood grain. This helps the stain penetrate the wood more effectively.
- Using a Roller: For larger deck areas, a roller can save you time. Use a high-quality roller cover that is designed for rough surfaces. Start by rolling in a ‘W’ or ‘M’ pattern and then fill in the gaps. Be sure to keep a wet edge to prevent overlapping marks.
- Tips to Prevent Lap Marks and Streaks: Lap marks happen when one section of the deck dries before you apply stain to an adjacent section. Work in small sections and try to finish one board at a time. If possible, stain on a cooler day or in the shade to slow down the drying process, reducing the chance of streaks.
Drying Time Between Coats
The drying time between coats will vary depending on the specific stain product and the climate conditions in your area. In most parts of Australia, the dry time for oil-based stains can range from 4 to 6 hours, while water-based stains may dry in as little as 2 to 3 hours. However, it’s essential to follow the manufacturer’s recommendations for your specific stain. Additionally, if you’re working during a humid day, it may take longer for the stain to dry completely.
Ensuring a Smooth Finish
Once the first coat is fully dry, it’s time to apply the second coat. The key here is to avoid over-applying the stain, which can lead to a blotchy or sticky finish. Use a light hand and make sure each stroke blends smoothly into the next. Again, follow the grain of the wood and keep an eye on areas where the stain might pool, especially in crevices.
Staining Deck Railings and Hard-to-Reach Areas
When it comes to staining deck railings and other tricky spots, a smaller brush or staining pad can be helpful. Focus on getting an even coat without overloading your brush, as too much stain can cause drips and runs. For hard-to-reach areas, such as the undersides of railings or corners, use an angled brush to ensure even coverage. If you’re dealing with intricate details or tight spaces, consider using a foam brush or staining mitt for greater control.
Clean-Up
Proper clean-up is just as important as the staining process itself.
- Cleaning Brushes and Tools: For water-based stains, you can simply use soap and water to clean your brushes and rollers. For oil-based stains, you’ll need a solvent like mineral spirits or turpentine. Be sure to clean your tools immediately after use to prevent the stain from hardening and ruining them.
- Safe Disposal Methods for Stain Cans and Rags: Stain-soaked rags can be a fire hazard, so it’s important to dispose of them properly. Lay them out flat to dry completely before discarding them. Empty stain cans should be taken to a hazardous waste facility or disposed of according to your local council’s guidelines. Never pour leftover stain down the drain as it can harm the environment.
By following these steps, your deck will have a long-lasting, professional finish that can stand up to Australia’s unique climate. Remember, staining is not a rushed job, so take your time and allow each coat to dry fully before moving on to the next step.
Maintenance Tips To Keep Your Deck Looking Great
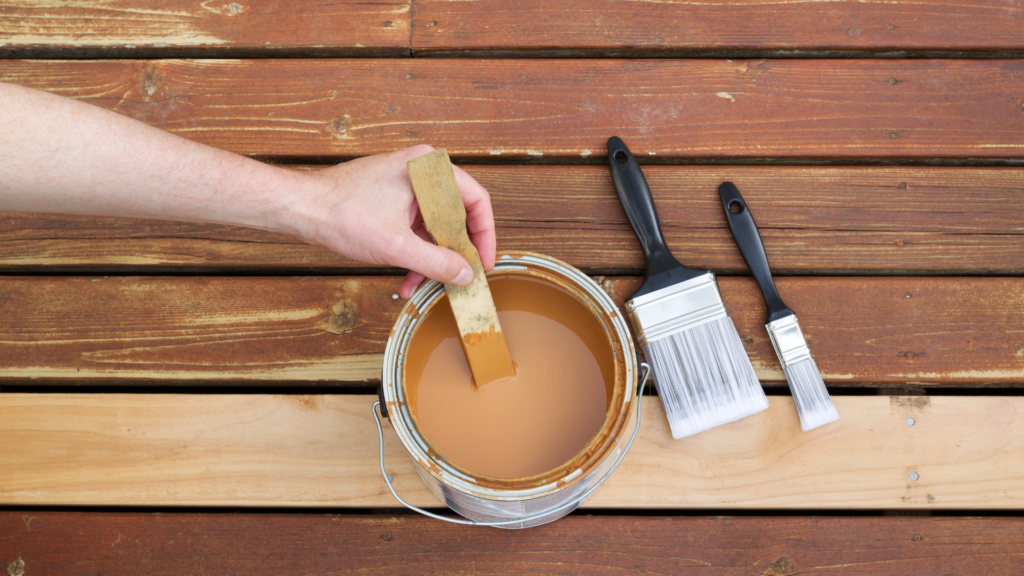
Your deck is a significant investment, and proper maintenance is key to ensuring it looks beautiful for years to come, especially in Australia’s often harsh climate. By following these essential tips, you’ll extend the life of your deck and keep it in top condition.
How Often to Reapply Stain
In Australia, the frequency of reapplying stain depends largely on the local climate and the amount of exposure your deck has to the elements. Generally, you’ll need to reapply stain every 2 to 3 years. If your deck is in a more exposed location like under direct sunlight for most of the day it may require more frequent applications. On the other hand, decks in shaded areas with some protection from the elements may last closer to three years before needing a refresh.
The stain not only enhances the natural beauty of the timber but also acts as a protective layer against moisture, UV rays, and wear and tear. Regularly checking for signs of fading or peeling will help you determine the right time to reapply. If the water no longer beads on the surface or if you notice color fading, it’s time to restain your deck.
Seasonal Cleaning
Keeping your deck clean year-round is essential for maintaining its look and longevity. A regular cleaning routine, especially as seasons change, will prolong the life of the stain and help prevent damage to the timber.
For optimal care
- Spring and summer: Clean your deck thoroughly to remove dirt, pollen, and any buildup that accumulated over winter. Use a gentle deck cleaner and a soft-bristle brush or broom to scrub the surface, and then rinse with water.
- Autumn and winter: Clear away fallen leaves, branches, and debris to prevent staining or mold growth. Pay special attention to removing wet leaves, as they can lead to moisture buildup, which may damage the wood over time.
A pressure washer can also be used, but be sure to use a low setting to avoid damaging the wood or stripping the stain. Regular cleaning will prevent dirt and grime from becoming embedded in the wood, allowing your deck to retain its natural beauty for longer.
Spot Touch-Ups
Over time, minor scratches, water damage, or sun-faded areas may appear on your deck. It’s important to address these issues quickly to prevent them from worsening. Spot touch-ups can help maintain the overall appearance of your deck without needing to restain the entire surface.
For small scratches or faded spots, lightly sand the affected area to smooth out the surface, then apply a matching stain. This will blend the repair into the rest of the deck seamlessly. For water damage, make sure the wood is completely dry before lightly sanding and reapplying the stain. By addressing these minor imperfections early, you’ll avoid larger repairs down the road and keep your deck looking fresh.
Protecting Your Deck from the Harsh Australian Elements
Australia’s climate can be particularly harsh on outdoor timber, with long hot summers, heavy rainfall in some areas, and unpredictable weather patterns. Taking preventive steps can protect your deck from damage and extend its lifespan.
- Outdoor furniture pads: One of the easiest ways to avoid scratches and wear on your deck is by using furniture pads under outdoor chairs, tables, and other heavy items. These pads reduce friction and prevent unsightly scuffs or indentations on the wood, preserving its finish.
- Install awnings for pergolas: Direct sunlight is one of the biggest threats to your deck’s longevity. UV rays can cause fading and lead to the timber drying out, which results in cracking and splintering over time. Installing a pergola, awning, or shade sail can reduce sun exposure, allowing your deck to stay cooler and preventing damage from harsh UV rays. This not only prolongs the life of the stain but also creates a more comfortable outdoor space for you to enjoy.
By incorporating these simple protective measures and following a regular maintenance schedule, your deck will continue to be a standout feature of your home, offering both beauty and functionality for years to come.
Maintaining a deck in Australia’s unique climate requires consistent care, but with the right approach, your deck can thrive in even the most challenging conditions. Keep an eye on your deck’s condition throughout the year, and make small repairs as necessary to ensure it always looks its best.
Common Mistakes To Avoid When Staining Your Deck
Staining your deck is an essential part of maintaining its beauty and ensuring it withstands the elements. However, many DIYers make some common mistakes during the staining process, which can lead to subpar results and reduced deck longevity. To help you avoid these pitfalls, let’s dive into the most frequent mistakes homeowners make and how you can ensure your deck looks great for years to come.
Skipping Preparation Steps
One of the biggest mistakes when staining a deck is skipping the crucial preparation steps. It might seem tempting to get straight to staining, but without proper preparation, the stain won’t adhere correctly, and the finish will be uneven.
Over time, decks accumulate dirt, mildew, and old finishes that need to be removed before applying a fresh coat of stain. Start by thoroughly cleaning the deck using a deck cleaner or power washer to get rid of any debris. After cleaning, sanding is another vital step that many people skip. Sanding smooths out rough patches and opens the wood’s pores, allowing the stain to penetrate deeper, which ensures a longer-lasting finish. If you neglect this step, you might end up with a blotchy or uneven look that peels off faster than it should.
Always make sure the deck is completely dry after cleaning and sanding before applying the stain. This ensures maximum absorption and a smooth finish.
Choosing the Wrong Stain Type
Picking the wrong stain for your deck is another common mistake. Not all stains are created equal, and choosing the wrong type can drastically affect the longevity and appearance of your deck. There are various stain options available, including transparent, semi-transparent, and solid stains. Each has its specific purpose and level of protection.
For example, a transparent stain allows the natural grain of the wood to show through, but it may not offer as much protection against harsh weather as a solid stain. On the other hand, a solid stain provides a more uniform color and better UV protection, but it hides the natural beauty of the wood grain.
If you live in an area with intense sun exposure or heavy rainfall (as is common in many parts of Australia), opting for a high-quality stain that provides UV and water protection is crucial. Choosing the wrong stain might leave your deck vulnerable to premature fading, cracking, or water damage.
Consult a professional or your local hardware store to determine the best stain type for your deck’s wood and your specific climate conditions.
Applying Stain in Direct Sunlight
The Australian sun can be fierce, and while it might seem like a great idea to stain your deck on a warm, sunny day, applying stain in direct sunlight is a common mistake that can ruin your hard work. When stain is applied under direct sun, the heat can cause it to dry too quickly. This rapid drying prevents the stain from being absorbed evenly into the wood, leading to a patchy or streaky finish.
In addition to uneven absorption, staining in direct sunlight can result in peeling or flaking down the line, as the stain forms a film on the surface rather than soaking into the wood.
Try to stain your deck on a cooler, overcast day, or plan to work during the early morning or late afternoon when the sun isn’t at its peak. This will give the stain more time to soak into the wood for a uniform finish.
Not Allowing Enough Drying Time
Patience is key when staining your deck, especially when it comes to drying times. A common mistake is not allowing enough time for the stain to dry before walking on it or applying a second coat. Depending on the humidity levels in your area, the drying time can vary significantly.
In humid parts of Australia, such as coastal areas, the air holds more moisture, which can slow down the drying process. If you don’t account for this and rush the drying stage, you may end up with tacky, uneven areas that never fully set. Worse yet, applying a second coat too soon can cause the stain to peel or form an unsightly surface layer that won’t hold up over time.
Always check the weather forecast before starting your project and choose a period with low humidity and no rain for at least 48 hours. Allow ample time for the first coat to dry fully before considering a second application. Staining your deck is a rewarding project that enhances the beauty and longevity of your outdoor space. By avoiding these common mistakes skipping preparation, choosing the wrong stain, staining in direct sunlight, and not allowing enough drying time you can ensure your deck stays looking fresh and protected for years to come. Remember, taking your time with the process and paying attention to detail will make all the difference in the final result.
FAQs: About How To Stain A Deck
Conclusion
When it comes to staining your deck, it’s essential to make the right choices and follow the proper steps to ensure a beautiful and durable finish. Choosing the right stain plays a significant role in how your deck will look and how well it will withstand the elements, so it’s important to select one that suits both your aesthetic preferences and climate needs. Equally crucial is the preparation process, as properly cleaning and sanding your deck will allow the stain to adhere more effectively, resulting in a smooth and even finish. Applying the stain correctly, with attention to detail and care, ensures the longevity of the project. Once the hard work is done, regular maintenance, such as reapplying the stain when needed and keeping the deck clean, will help preserve its appearance for years to come. Now is the perfect time to start your DIY staining project with confidence, knowing that by following these steps, you’ll achieve long-lasting results. Don’t forget to prioritize upkeep, as it plays a key role in maintaining the beauty and functionality of your deck over time. We’d love to hear about your experience, so feel free to share your journey in the comments below or post photos of your newly stained deck to inspire others.
About the Author:
Mike Veail is a recognized digital marketing expert with over 6 years of experience in helping tradespeople and small businesses thrive online. A former quantity surveyor, Mike combines deep industry knowledge with hands-on expertise in SEO and Google Ads. His marketing strategies are tailored to the specific needs of the trades sector, helping businesses increase visibility and generate more leads through proven, ethical methods.
Mike has successfully partnered with numerous companies, establishing a track record of delivering measurable results. His work has been featured across various platforms that showcase his expertise in lead generation and online marketing for the trades sector.
Learn more about Mike's experience and services at https://theleadguy.online or follow him on social media:


